Say Goodbye to Command Line! Install a Cool Visual Chat Interface for Your Ollama (Two Easy Deployment Options)
Want to upgrade your Ollama model interaction experience? Say goodbye to the cold command line and embrace an intuitive visual chat interface! This tutorial provides you with two simple and easy-to-implement methods to easily deploy Ollama WebUI: a lightweight and flexible Node.js solution and a hassle-free Docker solution. There's one for everyone!
Method 1: Lightweight and Flexible Node.js Solution
This method requires a bit of hands-on work, but it allows you to better understand the underlying mechanisms and is also relatively lightweight.
1. Lay the Foundation: Install Node.js
First, we need the Node.js platform to run the WebUI's JavaScript code.
- Download it from the official website: https://www.nodejs.com.cn/download.html

- The installation process is simple; just follow the wizard step by step.
2. Accelerator: Set up npm Mirror Source
To make downloading dependencies lightning fast, especially for users in China, it is strongly recommended to set up the npm (Node Package Manager) mirror source.
npm config set registry http://mirrors.cloud.tencent.com/npm/The above uses the Tencent Cloud mirror, you can also switch to Taobao mirror or any other you like. One command to complete!
3. Get the 'Equipment': Clone the WebUI Code
Open your terminal (command-line tool), enter the following command to clone the code of the lightweight WebUI ollama-webui-lite to your local machine, and then enter the project folder.
git clone https://github.com/ollama-webui/ollama-webui-lite.git
cd ollama-webui-lite4. 'Assemble the Parts': Install Project Dependencies
With the code, you also need to install the various 'parts' (dependencies) required to run it. Continue to enter in the terminal:
npm ci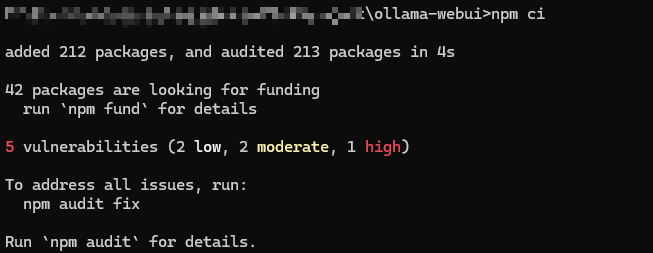
Here, npm ci is used instead of npm install because it strictly follows the package-lock.json file for installation, ensuring version consistency, and it is usually faster and more stable. Wait patiently, it will automatically handle it for you.
5. Start it up! Run the WebUI
Everything is ready, all that's missing is the final push! Run the following command to start the WebUI service:
npm run dev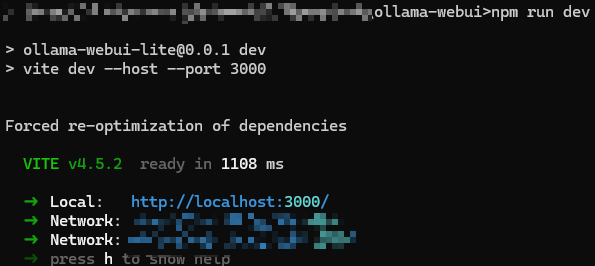
This command starts a development server, the benefit is that if you modify the code, it can automatically refresh, making debugging very convenient.
6. Witness the Miracle: Access Your WebUI
After seeing the terminal prompt that the service has started, open your browser and enter http://localhost:3000/. Tada! Your Ollama visual interface appears!
Method 2: Hassle-Free Choice: One-Step Solution with Docker
If you prefer "out-of-the-box" or are already familiar with Docker, then this method is definitely your cup of tea.
1. Prepare the 'Container': Install Docker
If you don't have Docker installed on your computer, install it first. Docker is like a magic container that packages an application and all the environments it needs together, so it can run anywhere.
- Windows and macOS users are recommended to use Docker Desktop.
- Linux users can use Docker Engine.
2. One-Click Solution: Pull and Run the Open WebUI Image
After Docker is ready, open the terminal and run the following command. It will help you download the open-webui (a more feature-rich WebUI) image and run it directly.
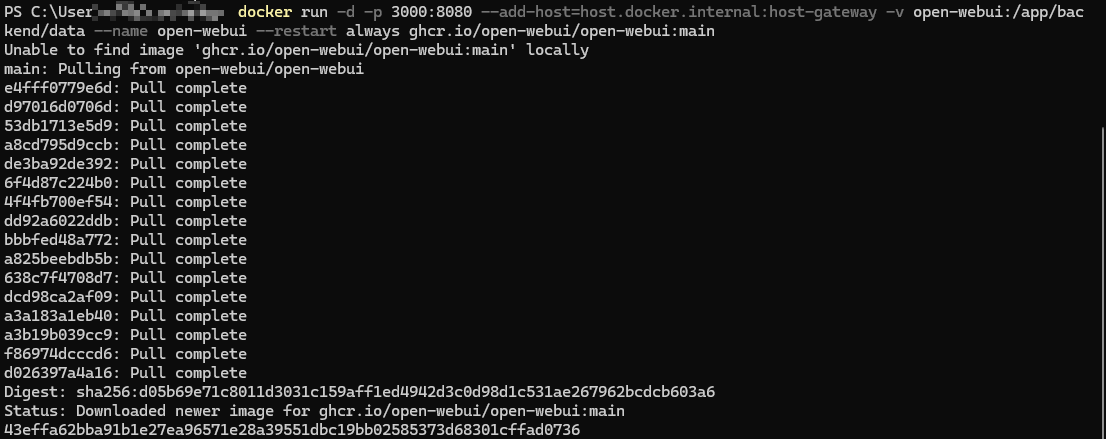
docker run -d -p 3000:8080 --add-host=host.docker.internal:host-gateway -v open-webui:/app/backend/data --name open-webui --restart always ghcr.io/open-webui/open-webui:mainA brief explanation of this command:
-d: Runs it quietly in the background.-p 3000:8080: Connects your computer's 3000 port to the container's 8080 port, so you can access it throughlocalhost:3000.--add-host...: Allows the container to access your host network, making it easy to connect to the Ollama service.-v open-webui:/app/backend/data: Stores the data (such as your settings, chat history) on your computer in a volume calledopen-webui, so that the data will not be lost when the container is restarted or updated.--name open-webui: Give this container a name for easy management.--restart always: If the container crashes unexpectedly, Docker will automatically restart it.ghcr.io/open-webui/open-webui:main: This is the image address to use.
Seeing a long string of character IDs in the terminal usually indicates success.
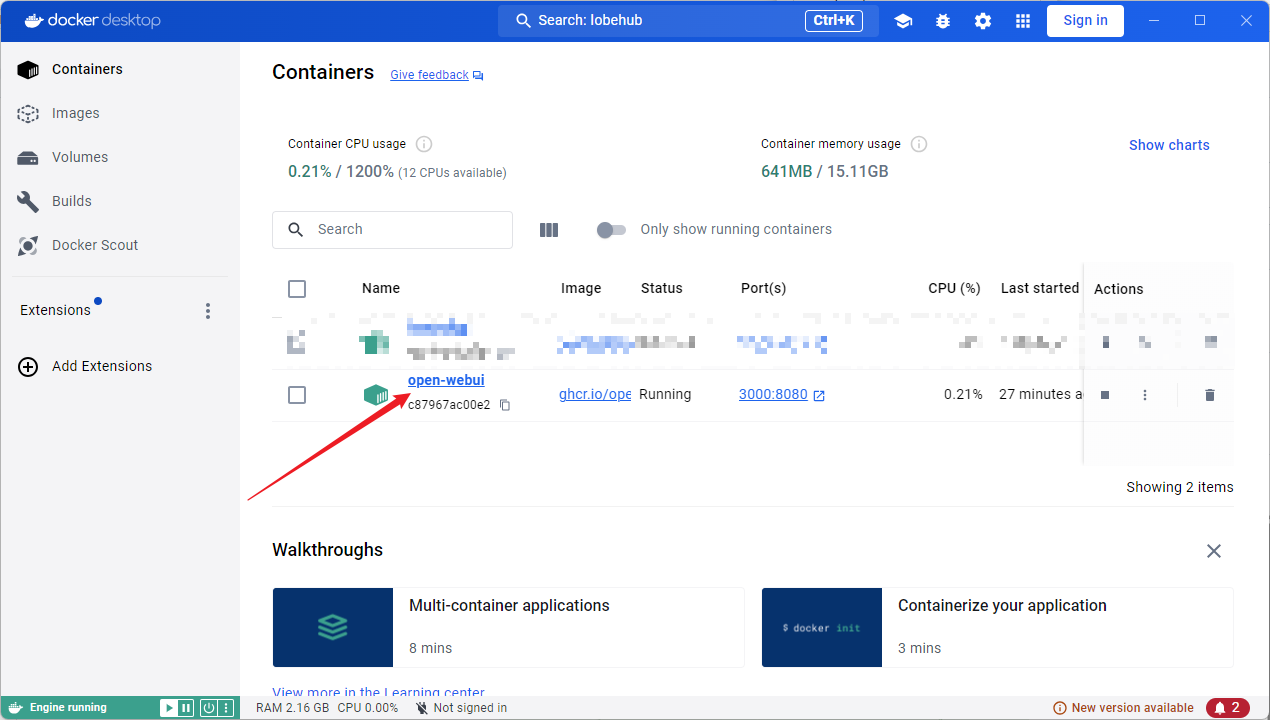
3. Double-Check: Check the Docker Container
If you're not sure, you can open Docker Desktop or use the docker ps command in the terminal to see if the container named open-webui is running.
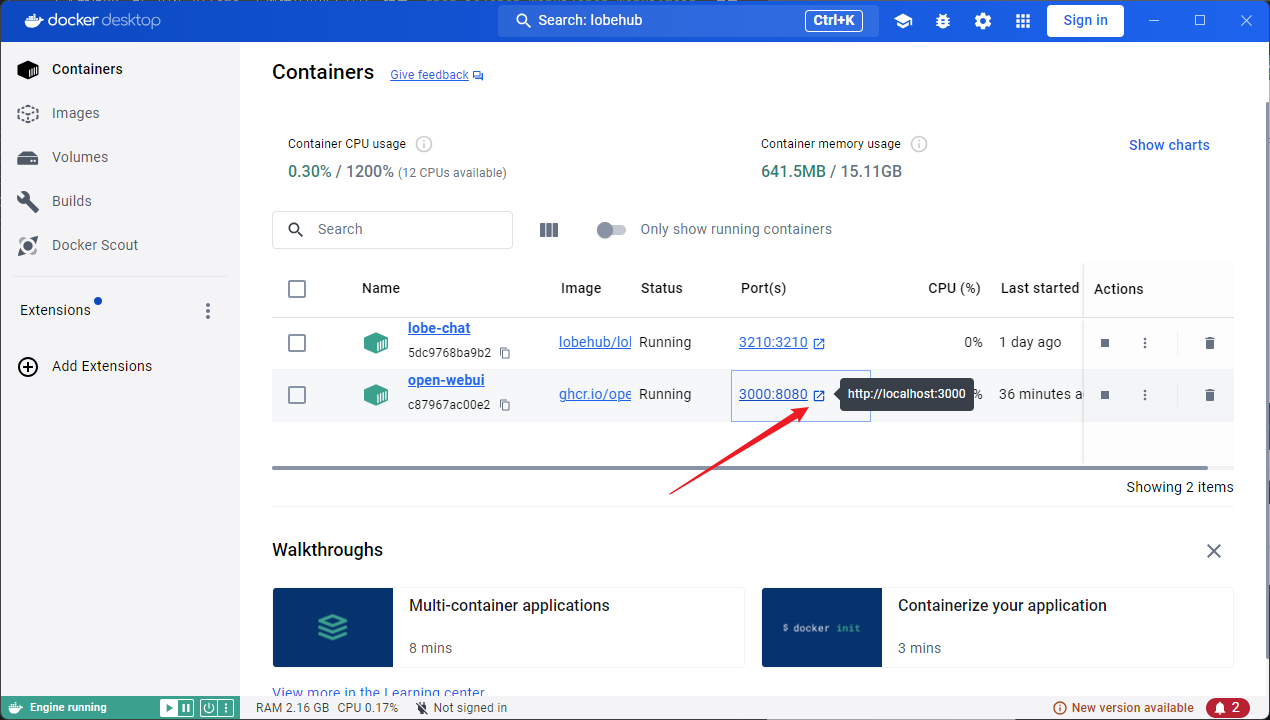
4. Open a New World: Access the WebUI
Now, directly enter http://localhost:3000/ in the browser address bar and press Enter. (Or find the corresponding container in Docker Desktop, there is usually a shortcut button to access the port)
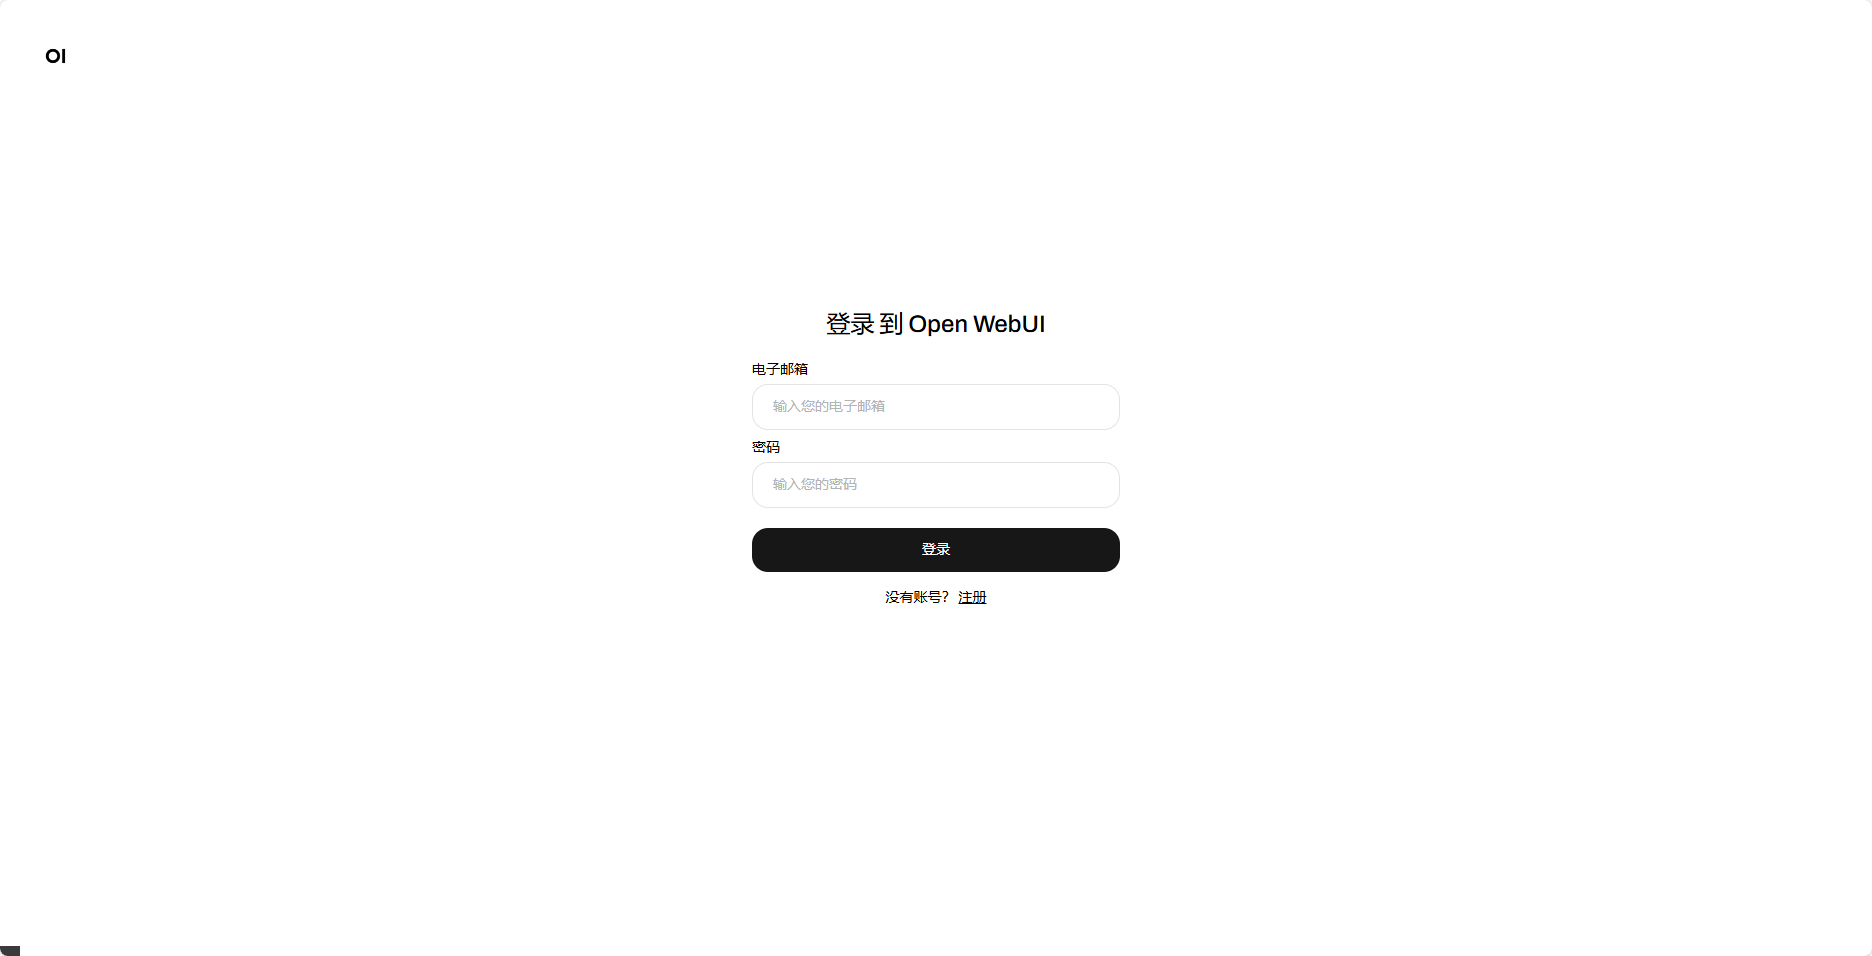
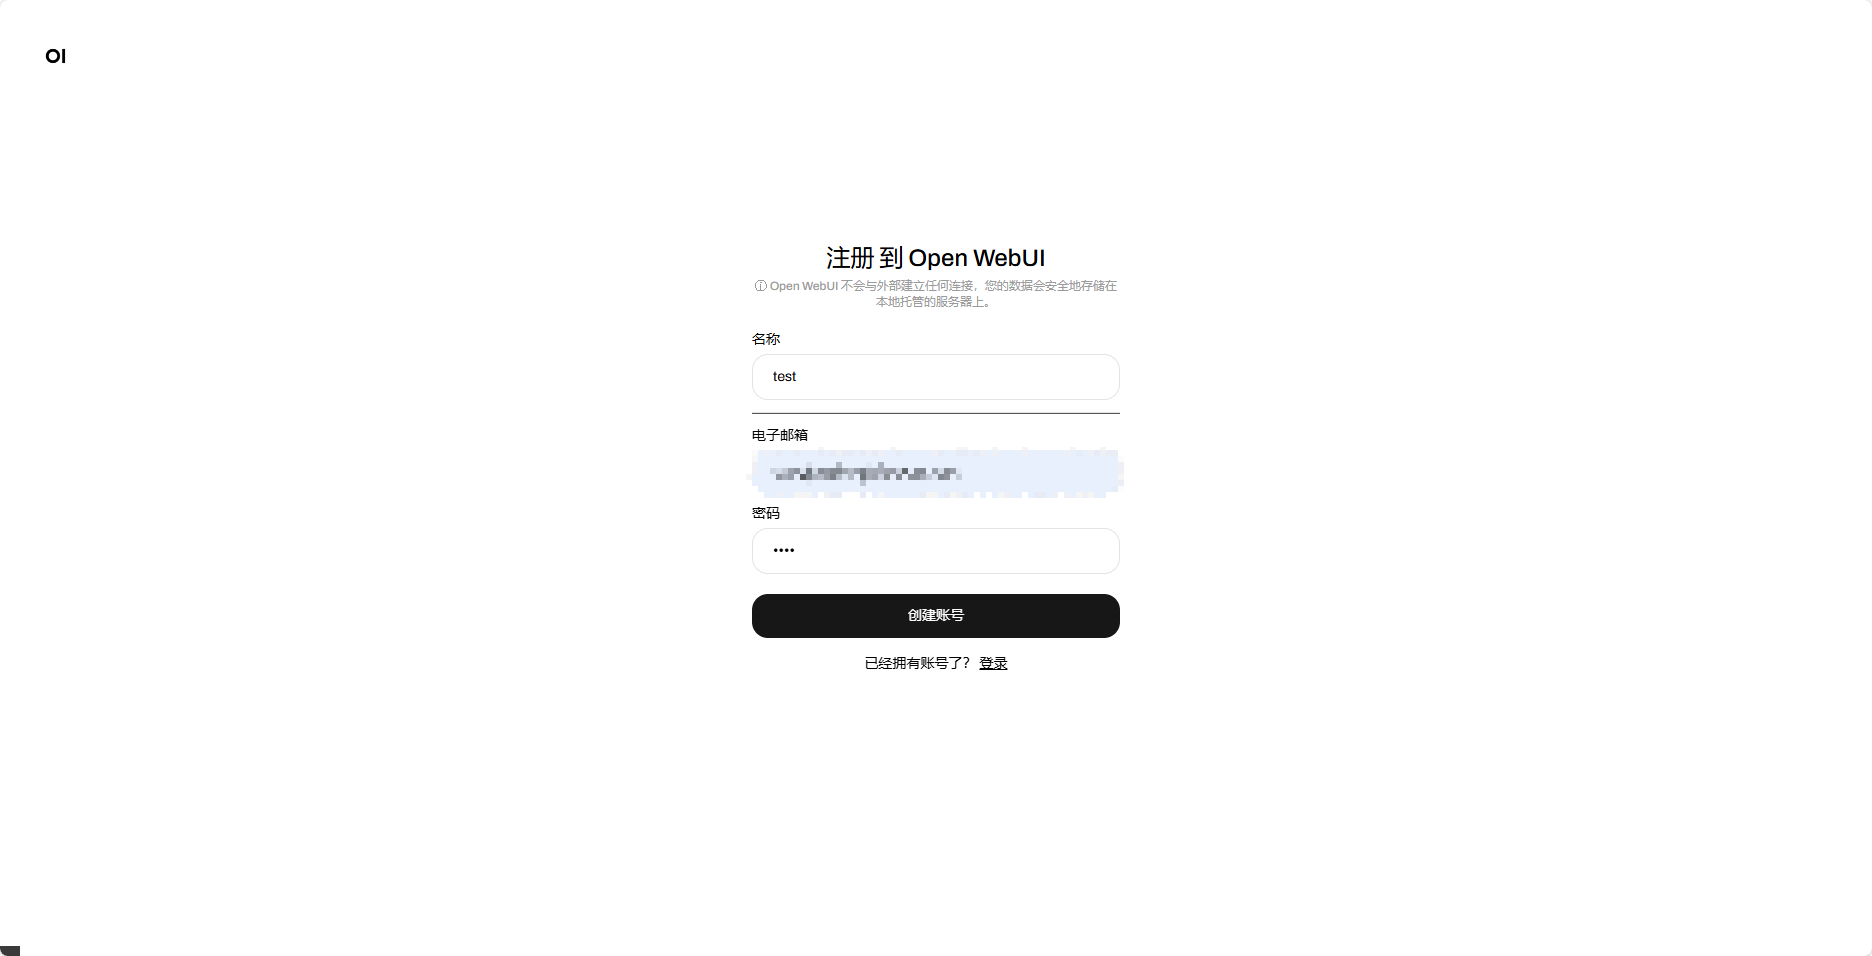
5. 'Get the Key': Register Your Exclusive Account
The first time you visit open-webui, you need to register an account, which is very simple, just fill in your email and password.
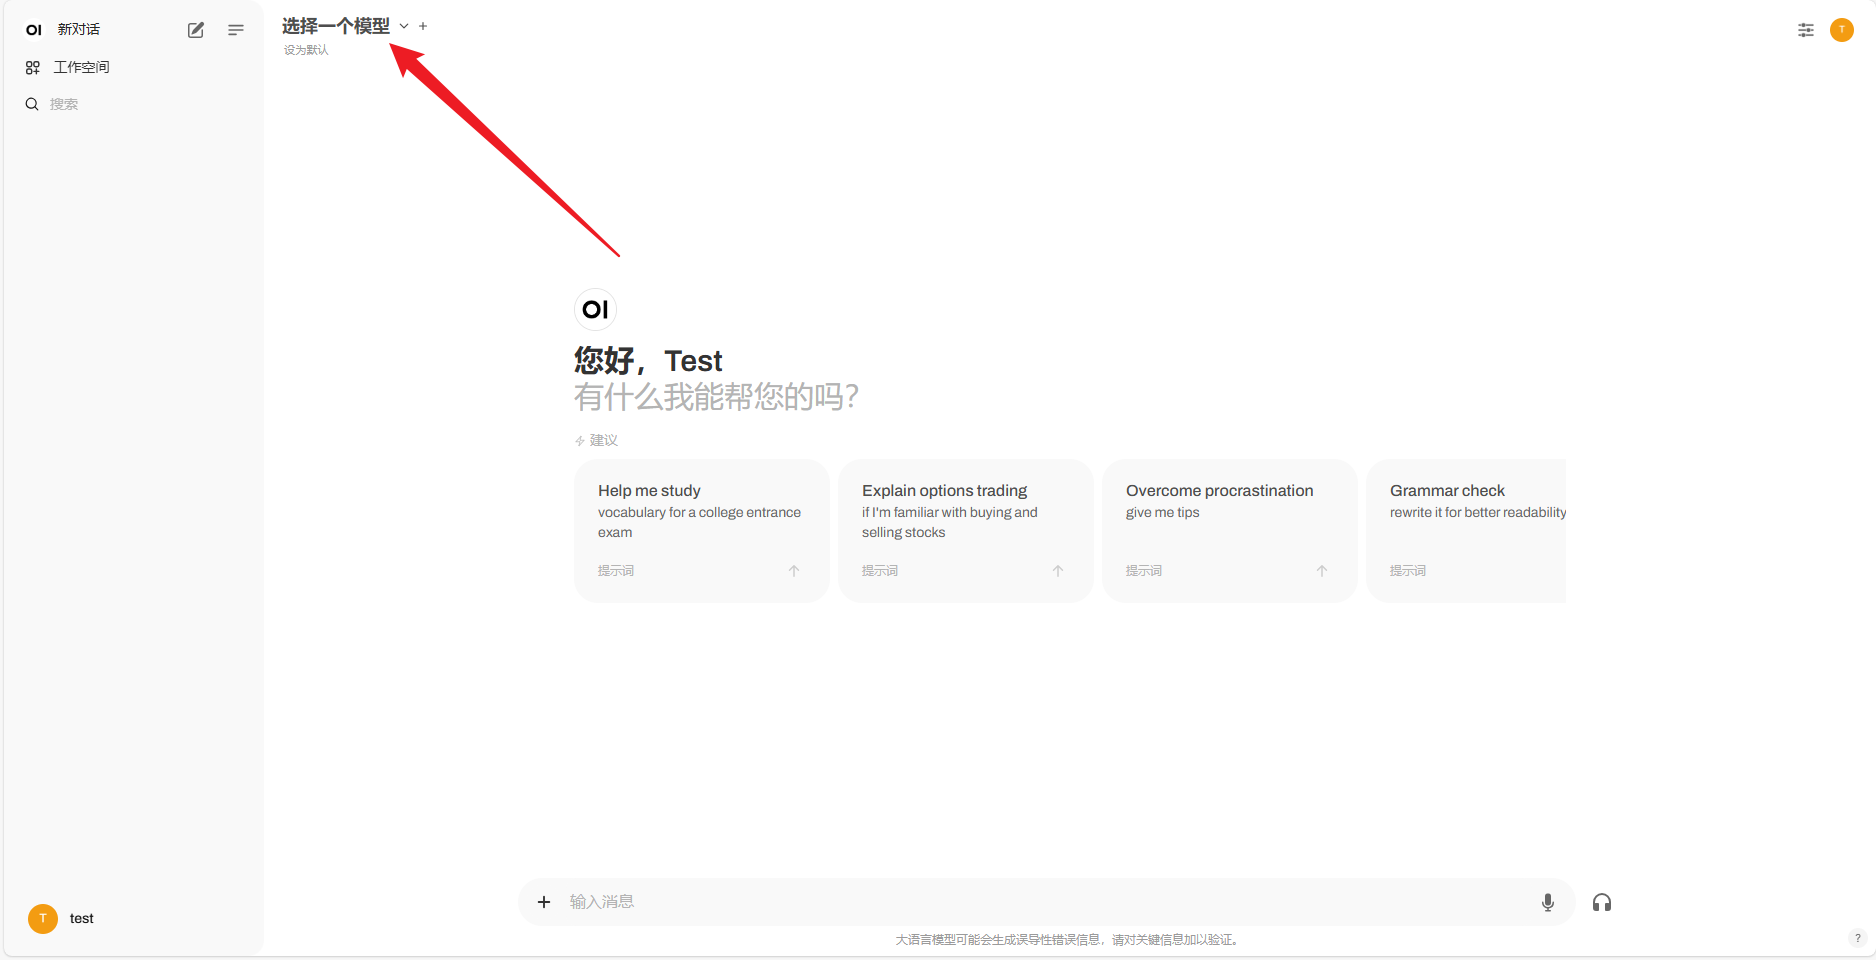
6. Start Chatting! Choose a Model and Speak Freely
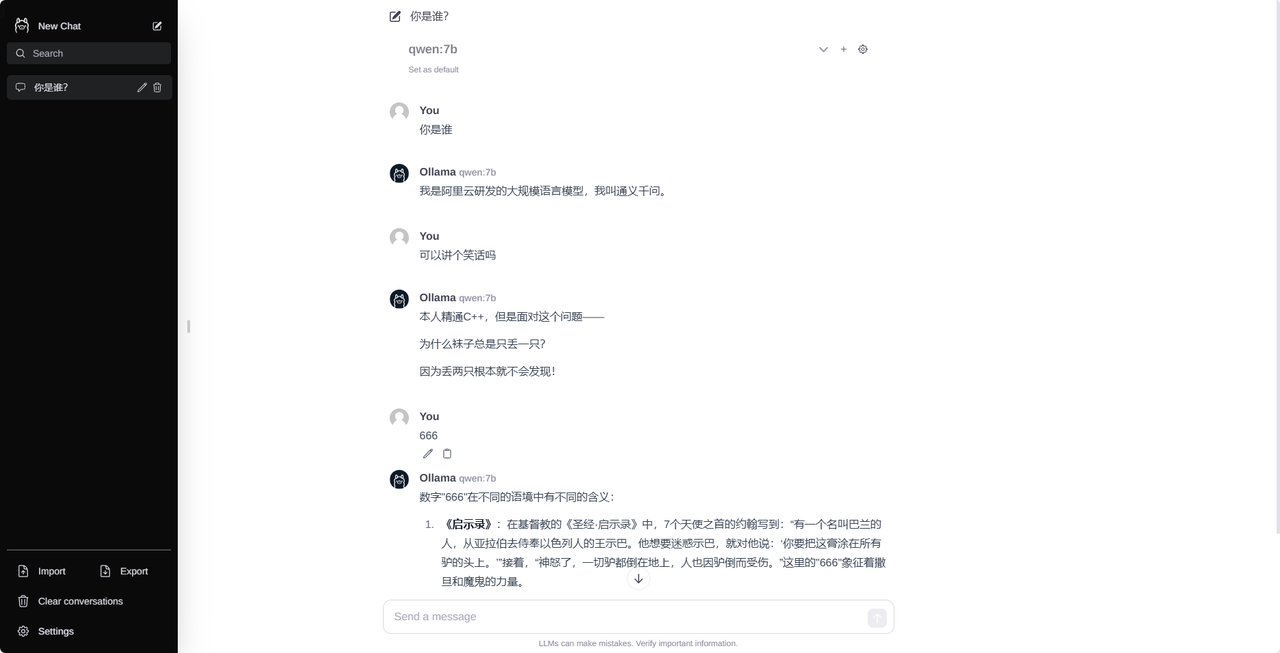
Registration and login are successful! The interface will show the models you already have in your local Ollama, choose one, and you can start chatting happily with AI!
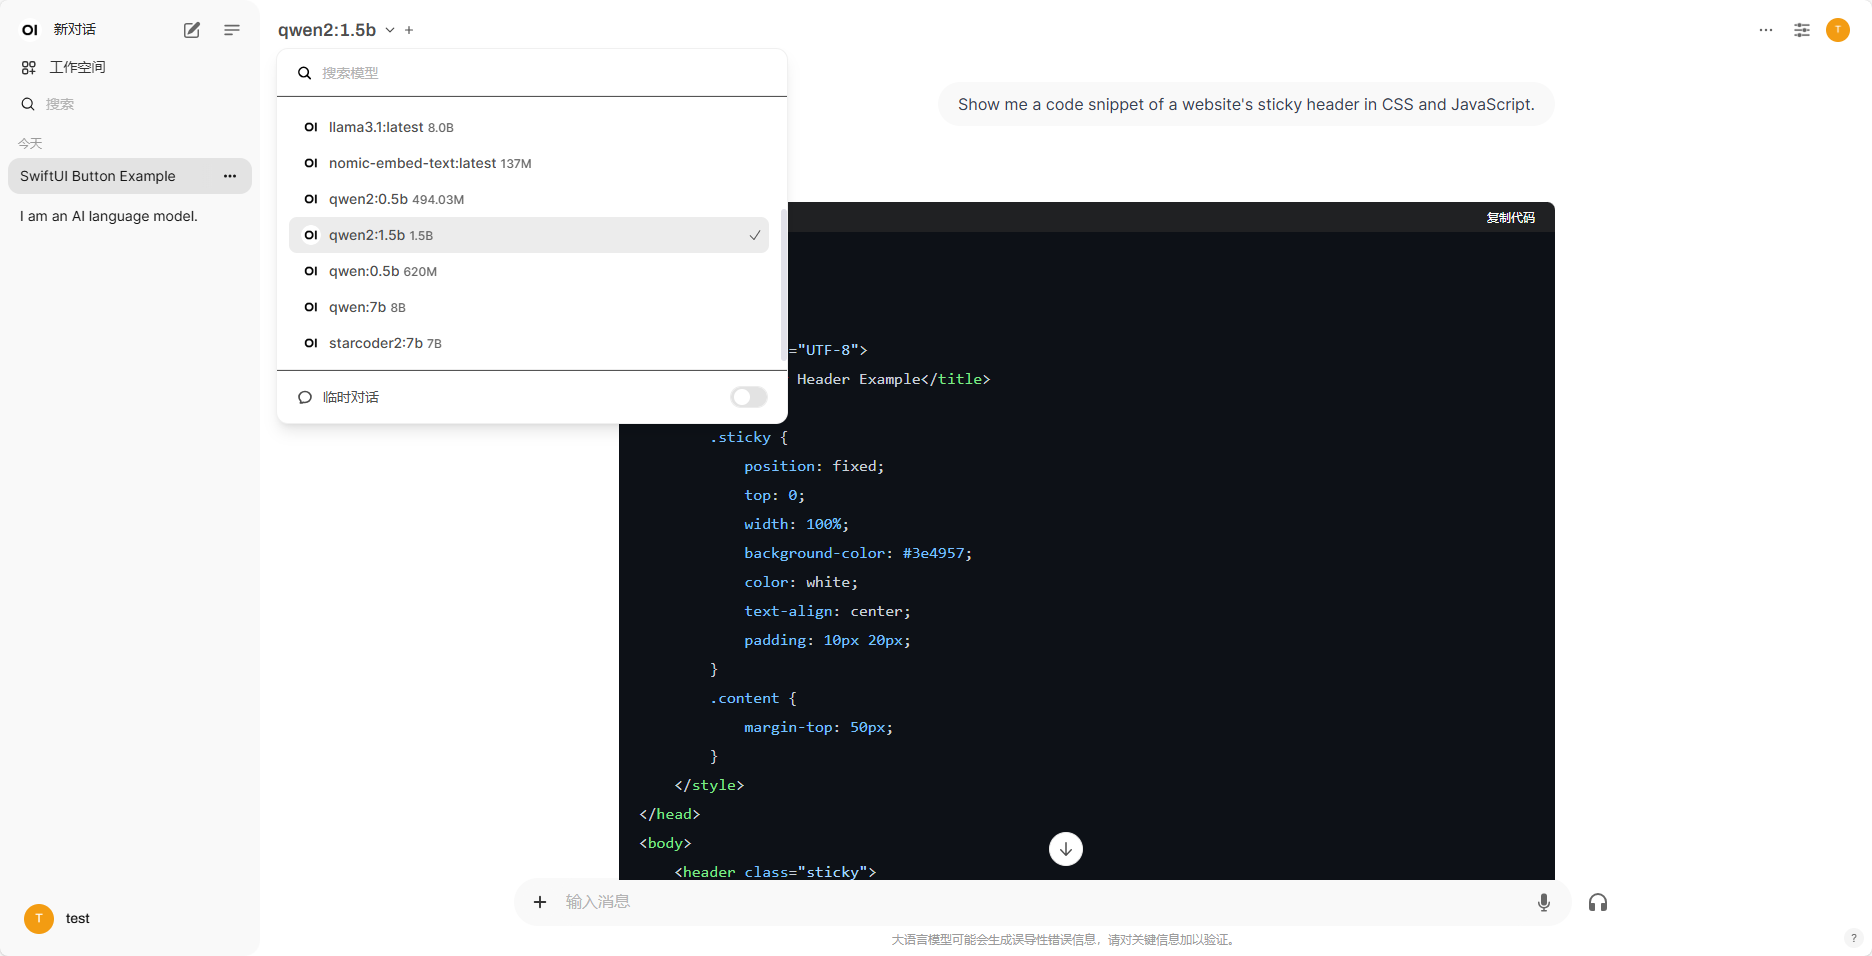
See the effect of chatting with the qwen2:1.5b model:
7. Advanced Exploration
open-webui has many functions, if you want to learn more, you can go to its GitHub repository: https://github.com/open-webui/open-webui
Okay, both methods of deploying the Ollama visual interface have been introduced to you!
- The Node.js method is more suitable for friends who like to do it themselves and understand the process, and it is also relatively lightweight.
- The Docker method is like a 'magic box', out-of-the-box, especially suitable for those who pursue efficiency and convenience.
No matter which one you choose, you can now 'chat' with your Ollama model more happily! Give it a try!