Want to experience the power of large models but limited by your local computer's performance? Typically, we deploy models locally using tools like ollama, but due to hardware constraints, we often can only run smaller models like 1.5B (1.5 billion), 7B (7 billion), or 14B (14 billion). Deploying a 70-billion-parameter model is a huge challenge for local hardware.
Now, you can deploy large models like 70B online using Cloudflare's Workers AI and access them over the internet. Its interface is compatible with OpenAI, meaning you can use it just like OpenAI's API. The only downside is the limited daily free quota, with charges for any overage. If you're interested, give it a try!
Preparation: Log in to Cloudflare and Bind a Domain
If you don't have your own domain, Cloudflare provides a free account domain. However, note that this free domain may not be directly accessible in some regions, and you might need to use some "magic" to access it.
First, go to the Cloudflare website (https://dash.cloudflare.com) and log in to your account.
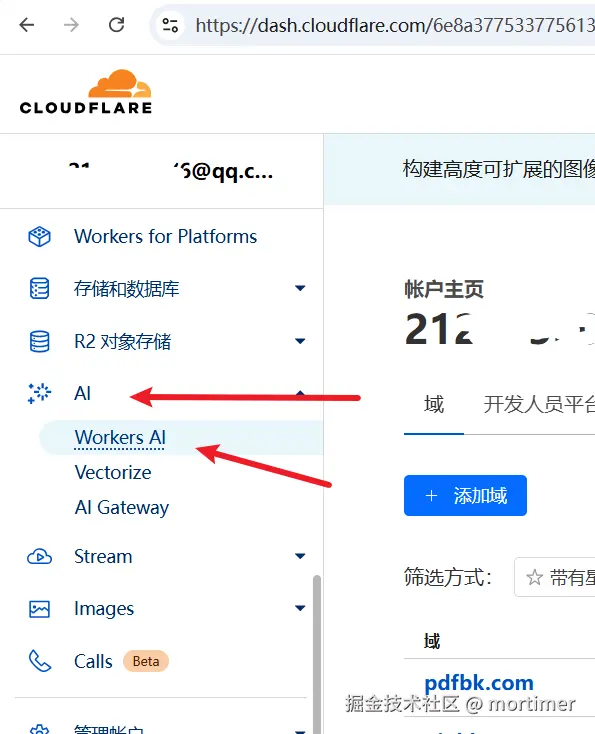
Step 1: Create a Workers AI
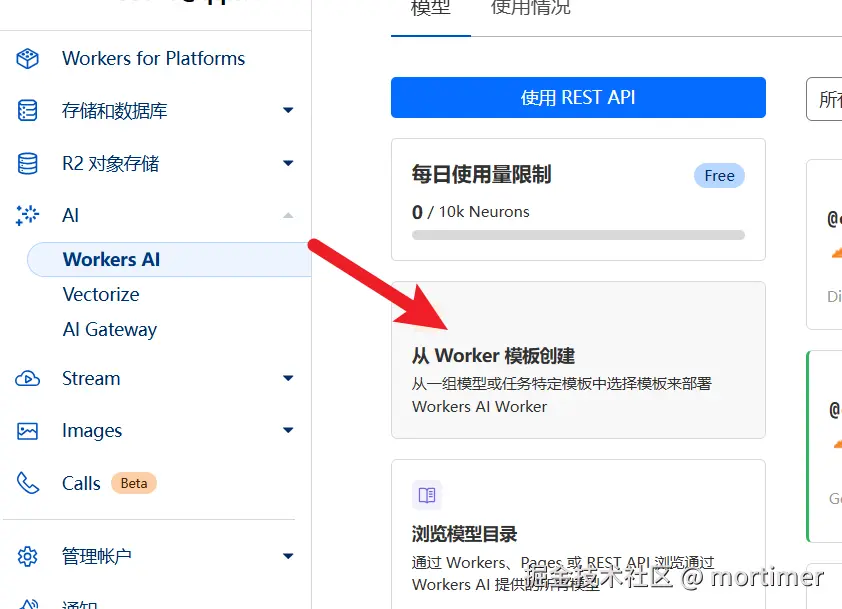
Find Workers AI: In the Cloudflare dashboard's left navigation bar, go to "AI" -> "Workers AI," then click "Create from Worker Template."
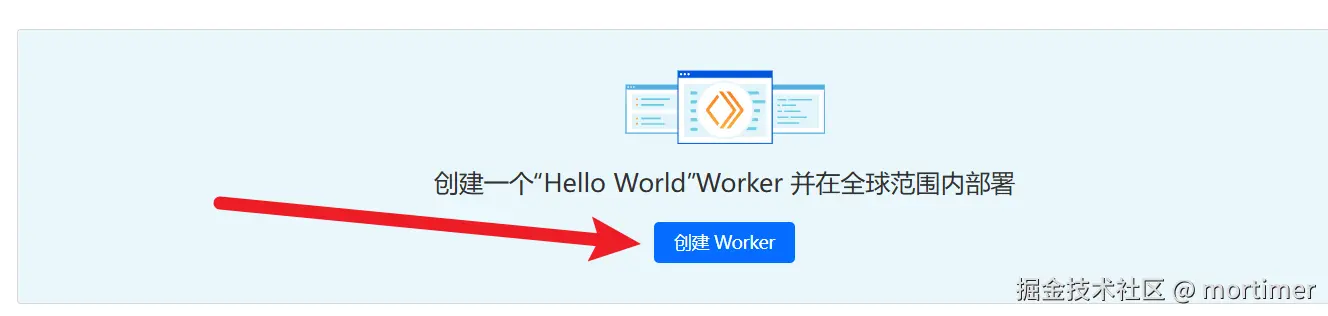
Create Worker: Next, click "Create Worker."
Enter Worker Name: Input a string of English letters, which will serve as your Worker's default account domain.
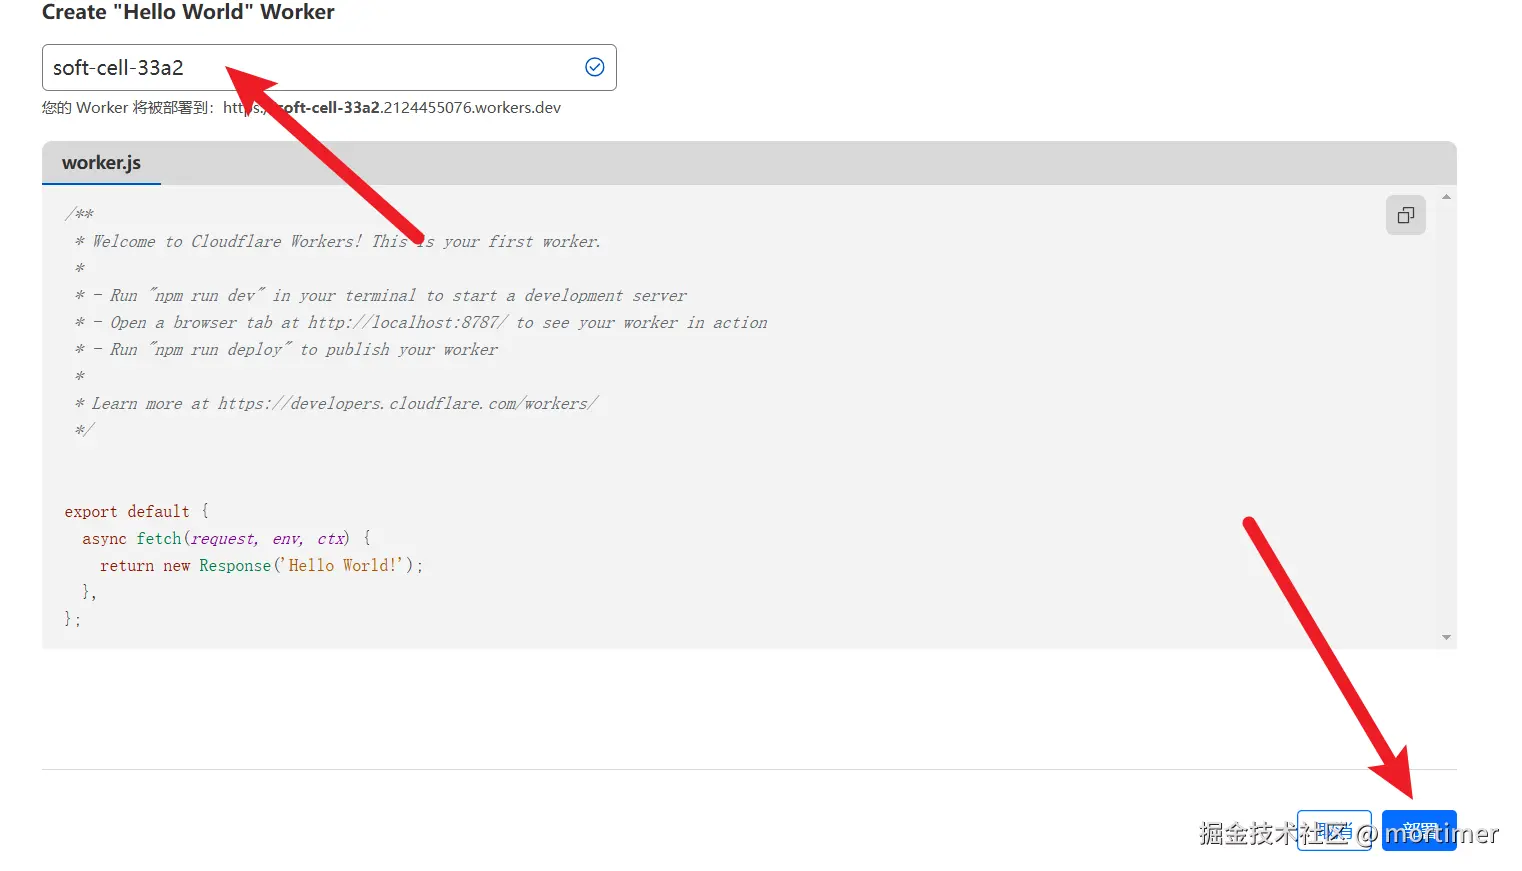
Deploy: Click the "Deploy" button in the bottom right to complete the Worker creation.
Step 2: Modify Code to Deploy Llama 3.3 70B Large Model
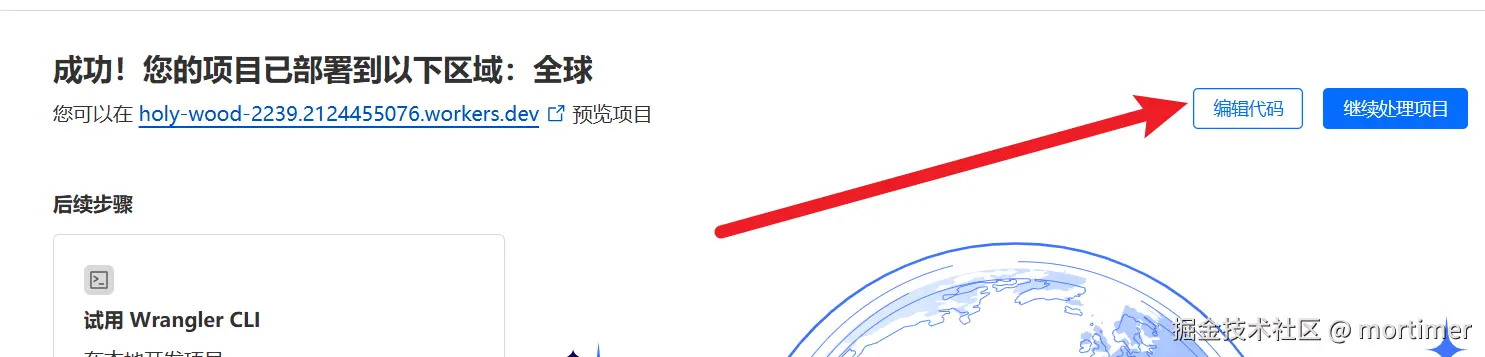
Enter Code Editor: After deployment, you'll see the following interface. Click "Edit Code."
Clear Code: Delete all preset code in the editor.

Paste Code: Copy and paste the following code into the code editor:
Here, we're using the
llama-3.3-70b-instruct-fp8-fastmodel, which has 70 billion parameters.You can also find other models to replace it on the Cloudflare Models Page, such as Deepseek open-source models. Currently,
llama-3.3-70b-instruct-fp8-fastis one of the largest and most effective models available.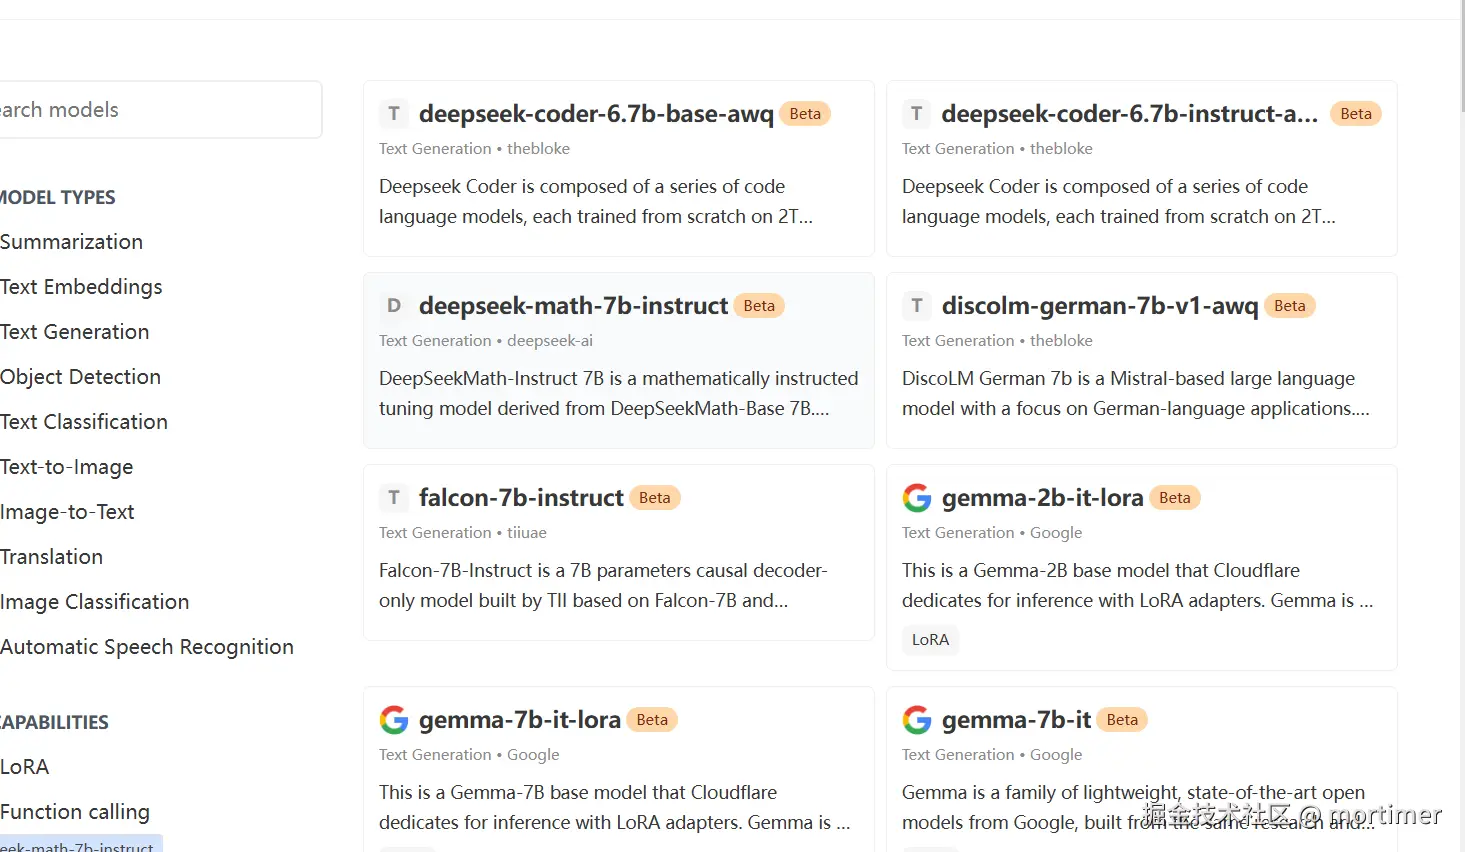 javascript
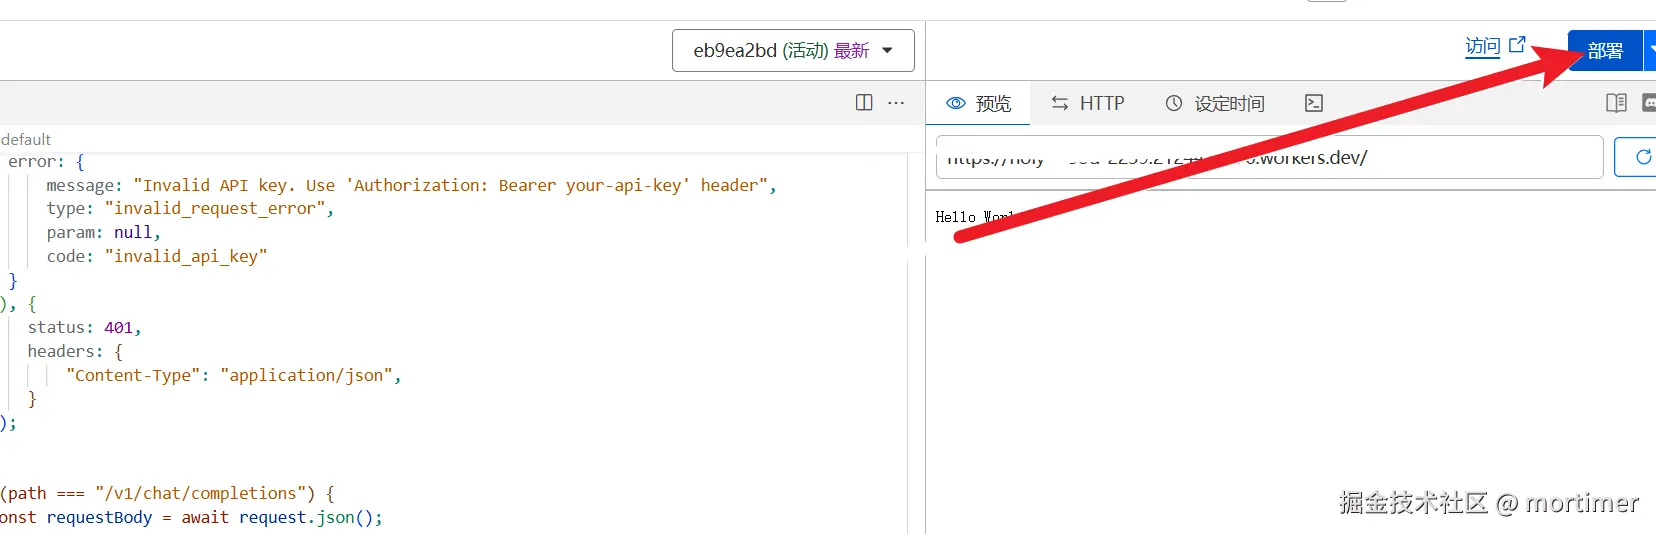
const API_KEY='123456'; export default { async fetch(request, env) { let url = new URL(request.url); const path = url.pathname; const authHeader = request.headers.get("authorization") || request.headers.get("x-api-key"); const apiKey = authHeader?.startsWith("Bearer ") ? authHeader.slice(7) : null; if (API_KEY && apiKey !== API_KEY) { return new Response(JSON.stringify({ error: { message: "Invalid API key. Use 'Authorization: Bearer your-api-key' header", type: "invalid_request_error", param: null, code: "invalid_api_key" } }), { status: 401, headers: { "Content-Type": "application/json", } }); } if (path === "/v1/chat/completions") { const requestBody = await request.json(); // messages - chat style input const {message}=requestBody let chat = { messages: message }; let response = await env.AI.run('@cf/meta/llama-3.3-70b-instruct-fp8-fast', requestBody); let resdata={ choices:[{"message":{"content":response.response}}] } return Response.json(resdata); } } };Deploy Code: After pasting the code, click the "Deploy" button.
Step 3: Bind a Custom Domain
Return to Settings: Click the back button on the left to return to the Worker management page, then go to "Settings" -> "Domains and Routes."
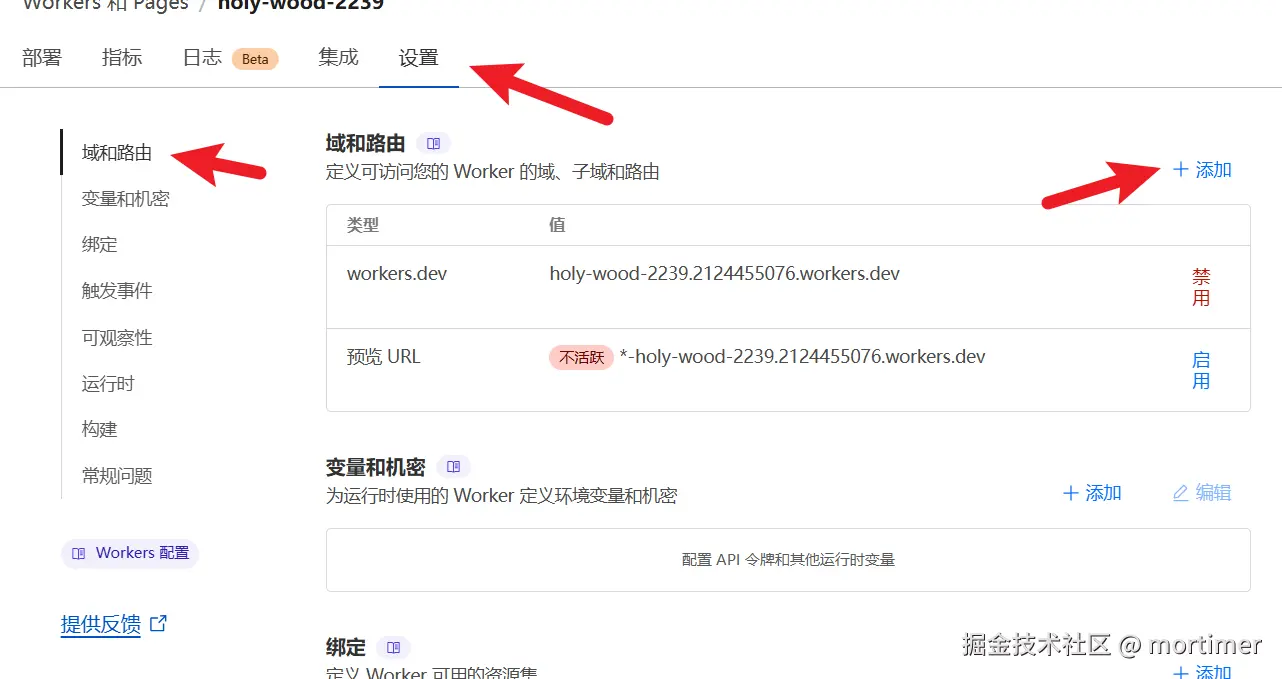
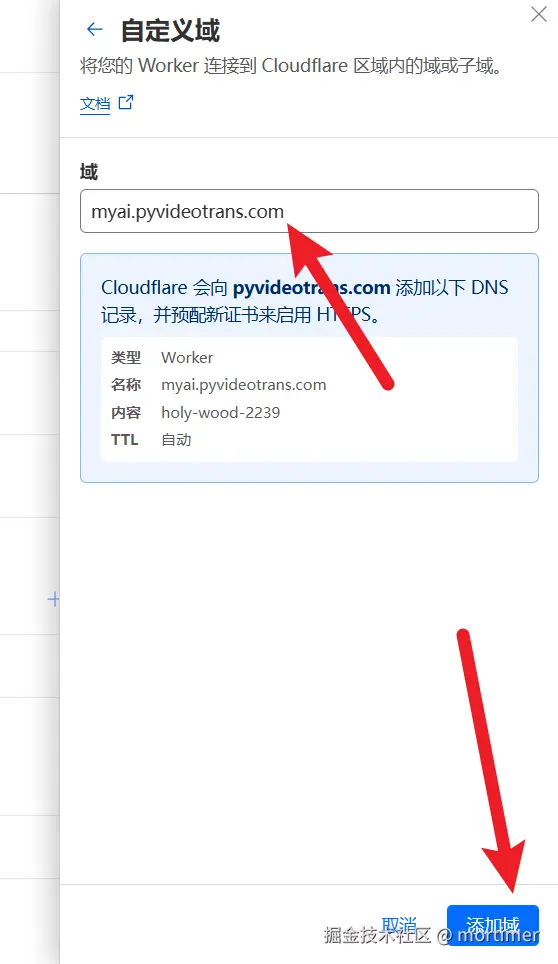
Add Custom Domain: Click "Add Domain," then select "Custom Domain" and enter the subdomain you've already bound to Cloudflare.
Step 4: Use with OpenAI-Compatible Tools
After adding a custom domain, you can use this large model in any tool compatible with the OpenAI API.
- API Key: This is the
API_KEYyou set in the code, defaulting to123456. - API URL:
https://your-custom-domain/v1
Thanks to Cloudflare's powerful GPU resources, the experience will be very smooth.
Important Notes
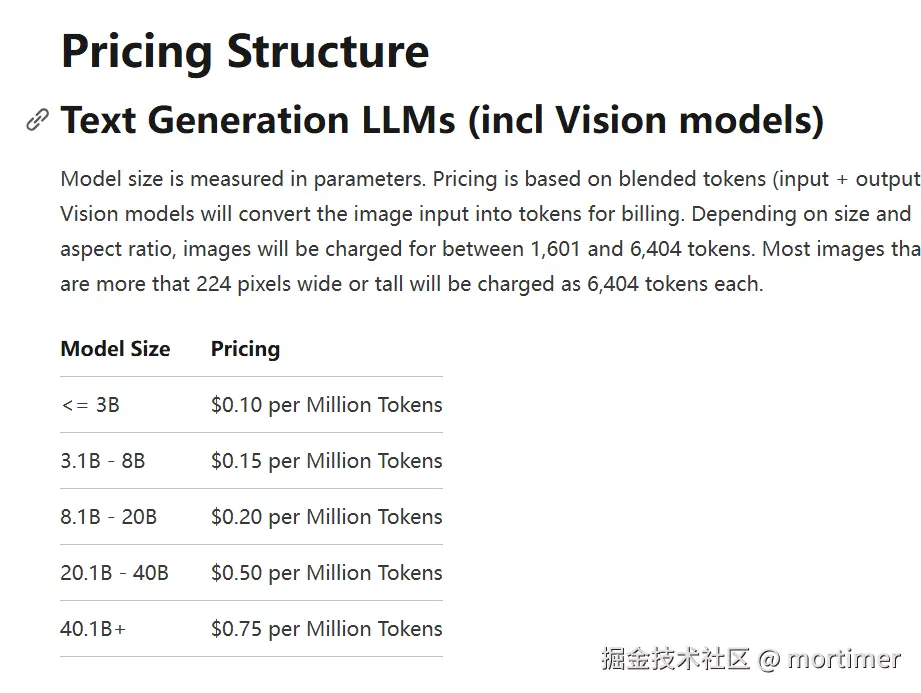
- Free Quota: Cloudflare Workers AI provides 10k free tokens per day, with charges for any usage beyond that.
- Pricing Details: You can check detailed pricing on the Cloudflare official pricing page (https://developers.cloudflare.com/workers-ai/platform/pricing/).