Solving Gemini CLI Login Authorization Failure: Installation and Troubleshooting Guide
Due to network restrictions, Google services (including the newly launched Gemini CLI) are not directly accessible in some regions. When using a VPN, users often encounter login authorization failures or connection timeout issues.
Based on my personal experience, this article details the complete process of resolving Gemini CLI login authorization failures. It also provides a concise introduction, installation, and usage guide for readers who are unfamiliar with the tool, helping you get started quickly.
1. Gemini CLI Tool Introduction
What is Gemini CLI?
Gemini CLI is an official command-line interface tool released by Google, similar to Claude Code. It allows users to interact directly with the Gemini AI model in the terminal, supporting various functions such as asking questions, programming assistance, and file editing.
Tool Advantages
- High Free Quota: For non-heavy users, the free quota is generally sufficient for daily development and learning needs.
- Strong Context Understanding: Supports long conversations and retains context well, ensuring coherent interactions.
- Cross-Platform Compatibility: Works perfectly on Windows, macOS, and Linux systems, offering great flexibility.
- Strong Community and Debugging Support: Although official documentation is limited, the built-in debug mode (e.g., the
-doption) effectively helps locate and resolve issues.
How to Install Gemini CLI?
1. Prerequisites
- Node.js Environment: Ensure your computer has Node.js installed (recommended v20.x or higher).
- Network Environment: Requires access to Google services, typically needing a configured proxy or VPN.
2. Installation Steps
- Open a terminal (Windows users can use CMD or PowerShell, macOS/Linux users use the terminal).
- Run the following command to install Gemini CLI globally:bash
npm install -g @google/gemini-cli - Verify the installation was successful:bashIf the terminal returns a version number, the installation was successful.
gemini --version
Basic Usage
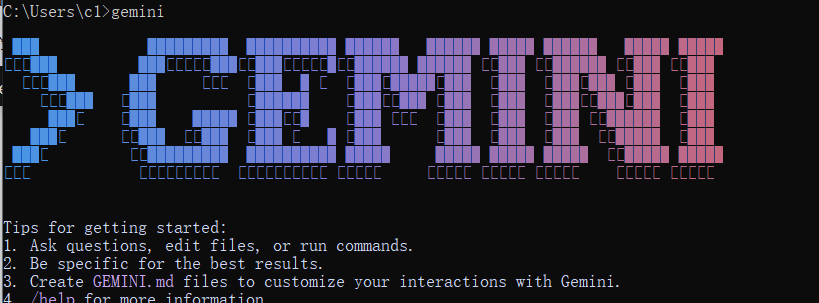
Start Interactive Mode:
bashgeminiAfter starting, you will enter an interactive interface where you can directly input questions or commands.
Common Options:
-dor--debug: Enables debug mode, outputting detailed connection and error information—a great tool for troubleshooting.--verbose: Outputs more log information.
Exit: In interactive mode, press the
Esckey or typeexitto quit.
2. Complete Record of Solving Login Authorization Failure
Problem Symptoms
When I first used the gemini command, I encountered the following issues:
- After running
gemini, the terminal displayedWaiting for auth... (Press ESC to cancel)and automatically opened the browser to the Google login page. - After successfully logging in and authorizing in the browser, the page redirected to
localhost:11101, but thegeminiprocess in the terminal automatically exited without any error message.

To investigate the cause, I used debug mode gemini -d and eventually identified the specific error message:
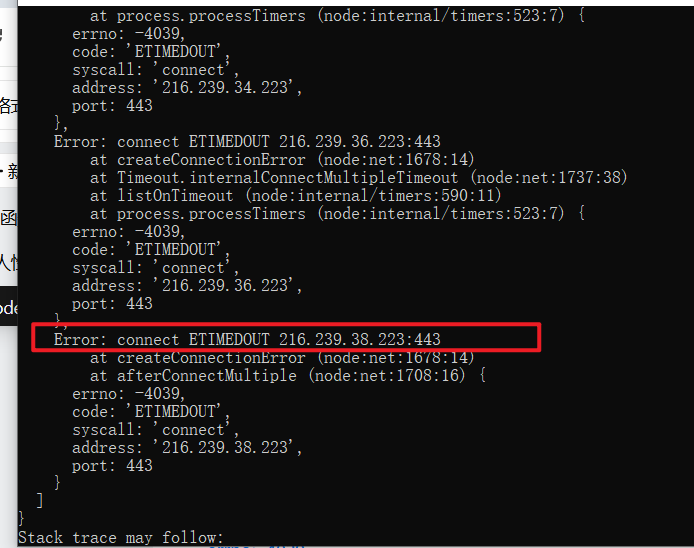
The error log showed AggregateError [ETIMEDOUT], clearly indicating a timeout when connecting to the Google server (IP address 216.239.32.223).
Problem Analysis
Based on the error information and my network environment, the root cause was clear:
- Network Access Restrictions: My region cannot directly access Google services.
- Missing Proxy Settings: Although I had a system proxy enabled, Gemini CLI does not read system proxy settings by default, causing it to attempt a direct connection to Google servers, which ultimately failed due to timeout.
- Unstable VPN Connection: In some cases, even with a proxy set, an unstable VPN connection can cause timeouts during the authentication process.
Solution Steps
Step 1: Ensure VPN Stability
- Check if your proxy or VPN tool is working properly; consider switching to a high-quality server node.
- If your proxy tool uses a whitelist or rule mode, ensure Google-related domains (e.g.,
*.google.com) or IP address ranges are included in the proxy scope.
Step 2: Set Proxy for the Terminal This is the most critical step. You need to set the https_proxy environment variable for the current terminal session to direct Gemini CLI's network requests to your local proxy port.
Windows (CMD):
bashset https_proxy=http://127.0.0.1:10808Windows (PowerShell):
bash$env:https_proxy="http://127.0.0.1:10808"macOS / Linux (Bash/Zsh):
bashexport https_proxy=http://127.0.0.1:10808
Note: Replace 10808 with the actual HTTP proxy port used by your proxy software.

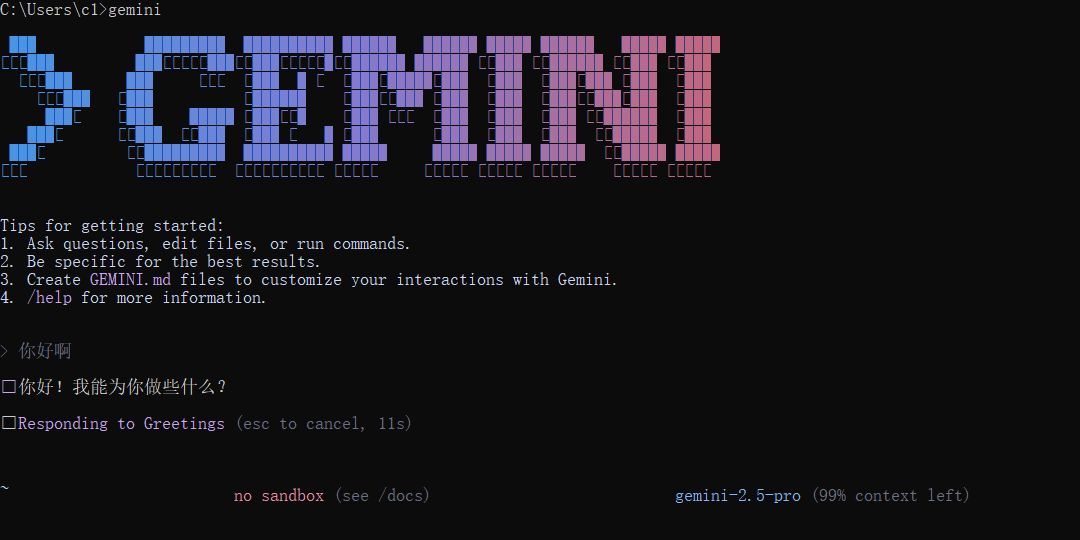
Step 3: Rerun and Verify After setting the proxy, run the gemini command again. This time, the authorization process should complete successfully, and you will enter the interactive interface.
Experience Summary
- Prioritize Network Issues: In restricted network environments, always check proxy or VPN stability first when encountering connection timeouts.
- Terminal Proxy is Key: Command-line tools often require manual setting of the
https_proxyenvironment variable to access the network through a proxy. - Make Good Use of Debug Mode:
gemini -dis the best helper for resolving connection and authentication issues, providing detailed error logs. - Use
pingCommand for Testing: You can use commands likeping 216.239.32.223to directly test connectivity to the target server.