解决 Gemini CLI 登录授权失败:安装与排错指南
由于网络环境原因,在国内无法直接使用 Google 服务(包括新推出的 Gemini CLI),而利用VPN使用时,常常会遇到登录授权失败或连接超时的问题。
本文将结合我的实际经验,详细记录解决 Gemini CLI 登录授权失败的全过程,并为不熟悉的读者提供一份简明的工具介绍、安装及使用指南,帮助你快速上手。
一、 Gemini CLI 工具简介
什么是 Gemini CLI?
Gemini CLI 是 Google 官方推出的一款命令行界面(Command-Line Interface)工具,类似于 Claude Code。它允许用户直接在终端中与 Gemini 人工智能模型进行交互,支持提问、辅助编程、编辑文件等多种功能。
工具优势
- 免费额度高:对于非重度用户,其免费额度基本能满足日常开发和学习需求。
- 强大的上下文理解能力:支持长篇对话,能很好地保留上下文,确保交互的连贯性。
- 跨平台兼容:完美支持 Windows、macOS 和 Linux 系统,灵活性强。
- 强大的社区与调试支持:虽然官方文档有限,但工具自带的调试模式(如
-d选项)能有效帮助我们定位和解决问题。
如何安装 Gemini CLI?
1. 前提条件
- Node.js 环境:确保你的电脑已安装 Node.js(推荐 v20.x 或更高版本)。
- 网络环境:需要能够访问 Google 服务,通常需要配置代理或 VPN。
2. 安装步骤
- 打开终端(Windows 用户可使用 CMD 或 PowerShell,macOS/Linux 用户使用终端)。
- 执行以下命令全局安装 Gemini CLI:bash
npm install -g @google/gemini-cli - 验证安装是否成功:bash如果终端返回版本号,则说明安装成功。
gemini --version
基本使用方法
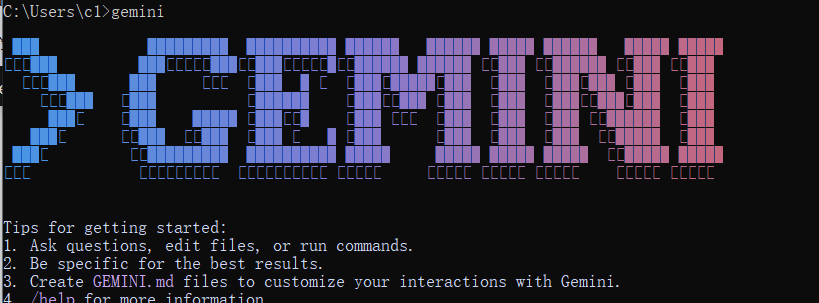
启动交互模式:
bashgemini启动后,你将进入一个交互式界面,可以直接输入问题或命令。
常用选项:
-d或--debug:启用调试模式,输出详细的连接和错误信息,是排查问题的利器。--verbose:输出更多日志信息。
退出:在交互模式下,按
Esc键或输入exit即可退出。
二、 解决登录授权失败问题全记录
问题现象
我在首次使用 gemini 命令时,遇到了以下问题:
- 运行
gemini后,终端显示Waiting for auth... (Press ESC to cancel),并自动打开浏览器进入 Google 登录页面。 - 在浏览器中成功登录并授权后,页面重定向到
localhost:11101,但终端里的gemini进程却自动退出了,没有任何错误提示。

为了探究原因,我使用了调试模式 gemini -d,最终定位到了具体的错误信息:
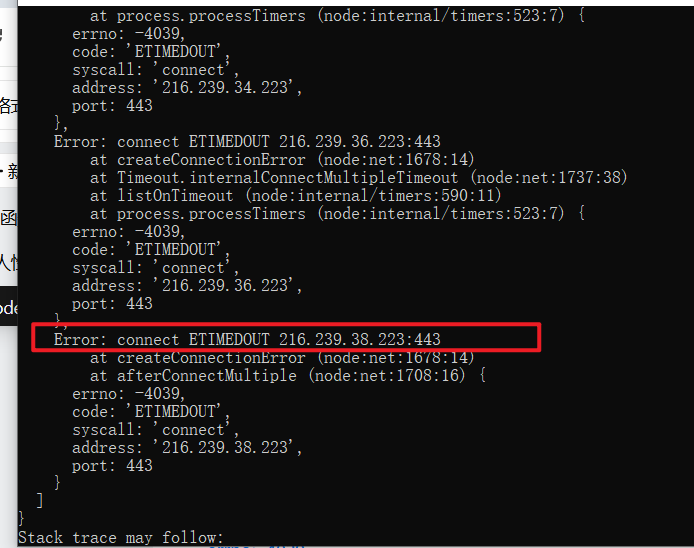
错误日志显示 AggregateError [ETIMEDOUT],明确指出连接 Google 服务器(IP 地址为 216.239.32.223)时超时。
问题分析
根据错误信息和我的网络环境,问题根源很清晰:
- 网络访问限制:我所在的地区无法直接访问 Google 服务。
- 代理设置缺失:虽然我开启了系统代理,但 Gemini CLI 默认不会读取系统代理设置,导致它仍然尝试直接连接 Google 服务器,最终因超时而失败。
- VPN 连接不稳定:在某些情况下,即使设置了代理,不稳定的 VPN 连接也可能导致认证过程中的某个环节超时。
解决步骤
第一步:确保 VPN 稳定
- 检查你的代理或 VPN 工具是否工作正常,建议切换到一个连接质量高的服务器节点。
- 如果你的代理工具使用了白名单或规则模式,请确保 Google 的相关域名(如
*.google.com)或 IP 地址段在代理范围内。
第二步:为终端设置代理 这是最关键的一步。你需要为当前终端会话设置 https_proxy 环境变量,将 Gemini CLI 的网络请求指向你的本地代理端口。
Windows (CMD):
bashset https_proxy=http://127.0.0.1:10808Windows (PowerShell):
bash$env:https_proxy="http://127.0.0.1:10808"macOS / Linux (Bash/Zsh):
bashexport https_proxy=http://127.0.0.1:10808
注意:请将 10808 替换为你的代理软件实际使用的 HTTP 代理端口。

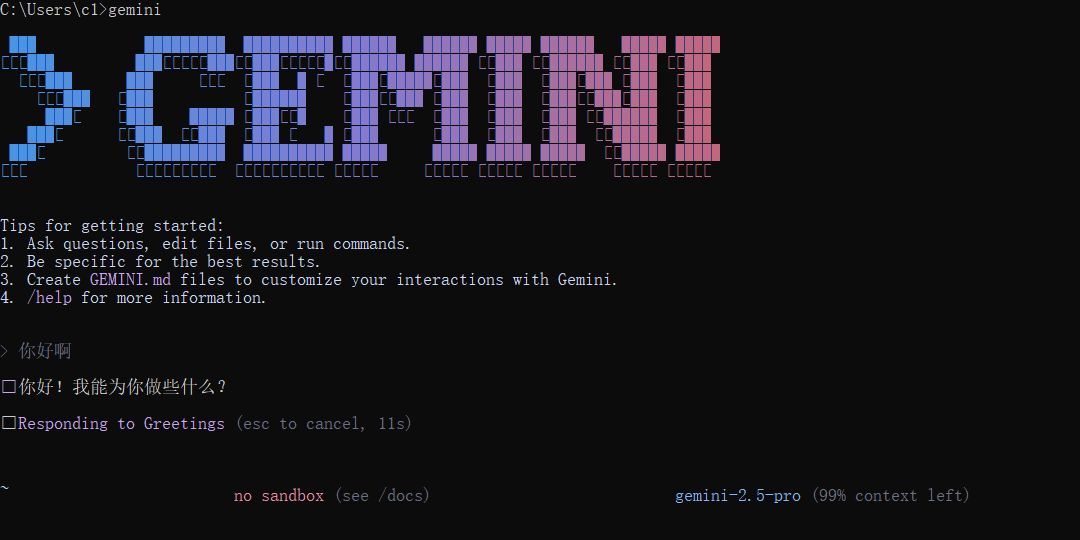
第三步:重新运行并验证 设置好代理后,再次运行 gemini 命令。这一次,授权流程应该可以顺利完成,你将成功进入交互界面。
经验总结
- 网络问题优先排查:在受限网络环境下,遇到连接超时问题,首先应检查代理或 VPN 的稳定性。
- 终端代理是关键:命令行工具通常需要手动设置
https_proxy环境变量才能通过代理访问网络。 - 善用调试模式:
gemini -d是解决连接和认证问题的最佳帮手,它能提供详细的错误日志。 - 利用
ping命令测试:可以通过ping 216.239.32.223等命令,直接测试网络到目标服务器的连通性。