If you're not very familiar with computer technology but need to use AI-related software (such as video translation, voice cloning, text-to-image generation, etc.), you may need to install Python on your computer. Python is a programming language that many AI applications rely on to run. This guide will walk you through installing Python 3.10.4 on Windows 10 and setting up a simple environment to run these programs.
Why Choose Python 3.10.4?
Because it's a relatively stable version:
• Versions below 3.10 may no longer be supported by some software. • Newer versions (like 3.11 or 3.13) might be too recent and have compatibility issues with model modules.
Step 1: Download Python 3.10.4
- Open your browser, enter the following URL in the address bar, and press Enter to open the download page:
https://www.python.org/downloads/release/python-3104/
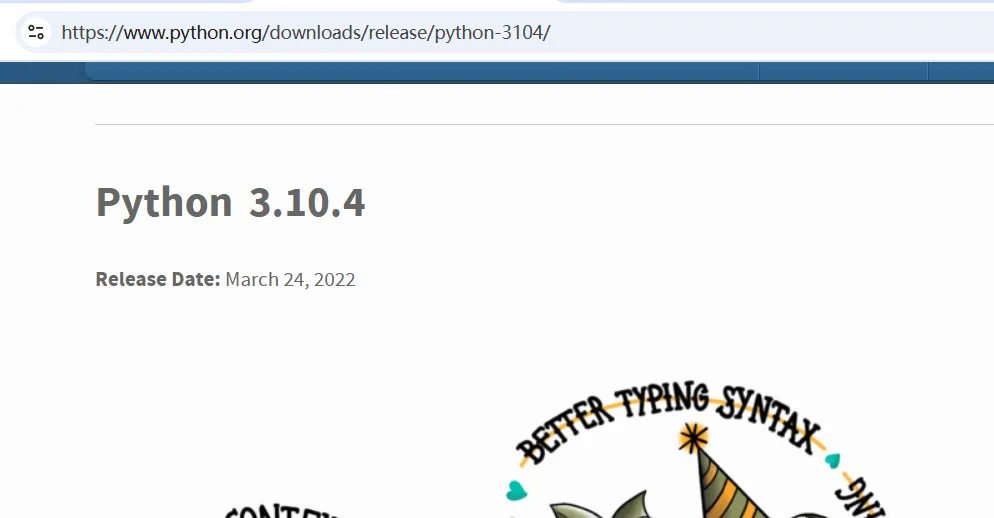
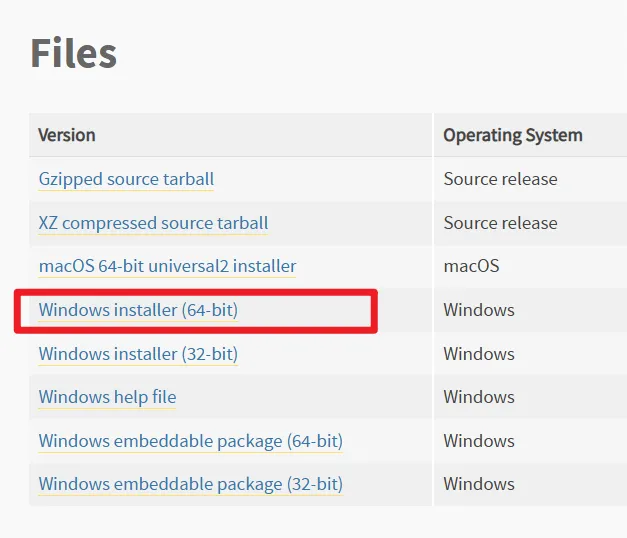
Scroll down the page until you see the "Files" section. Find the line for "Windows installer (64-bit)" and click to download (the downloaded file will be named
python-3.10.4-amd64.exe
).Save the file: The download will start automatically, and the file will be saved to your "Downloads" folder (usually located at
C:\Users\YourUsername\Downloads
).
Step 2: Install Python 3.10.4
Start the installation: Locate the downloaded
python-3.10.4-amd64.exe
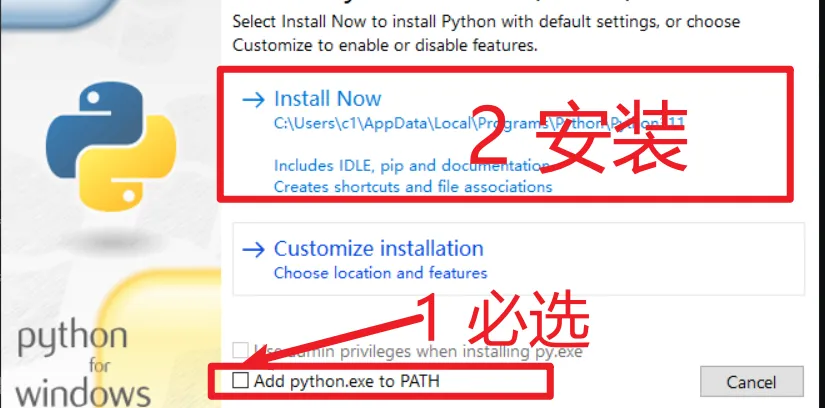
file and double-click it. The installation window will appear. • Important: At the bottom of the window, check the box for "Add Python 3.10 to PATH," then click "Install Now."Wait for installation to complete: The process may take a few minutes. Once done, you'll see a "Setup was successful" message. Click "Close" to exit the installer.
Step 3: Verify Python Installation
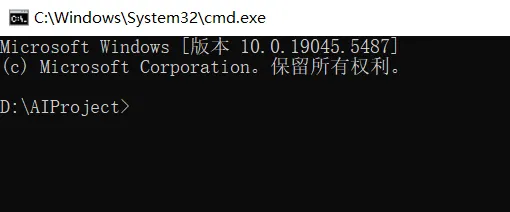
- Open Command Prompt (CMD): Press the Windows key + R on your keyboard to open the "Run" dialog. Type
cmd
in the input box and press Enter. A black command-line window will appear.
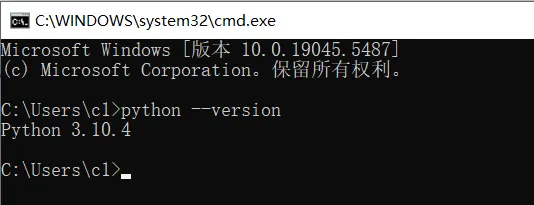
- Check Python with a command: In the command-line window, type the following and press Enter:sh
python --version
If you see output like Python 3.10.4
, congratulations, the installation was successful! If there's no response or an error occurs, you may have forgotten to check "Add Python 3.10 to PATH" and should reinstall.
Step 4: Create a Virtual Environment
A virtual environment acts like an isolated "room" where different AI projects can use different software versions without conflicts. We'll use Python's built-in venv
module to create one.
- Choose a folder: For example, create a folder on your D drive to store your projects. It's recommended to use folder names with English letters or numbers only—avoid Chinese characters, spaces, or special symbols, e.g.,
D:/AIProject
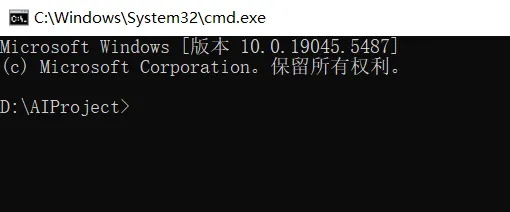
. - Navigate to the folder and open Command Prompt: Go to
D:/AIProject
, typecmd
in the folder address bar, and press Enter to open the terminal.
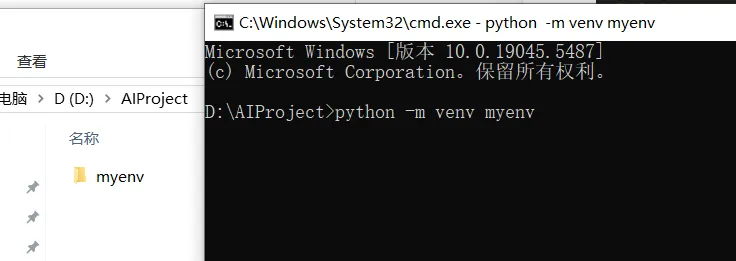
- Create the virtual environment: In the command line opened in the previous step, type:sh
python -m venv myenv
After pressing Enter, a subfolder named myenv
will appear in your directory—this is your virtual environment. 4. Activate the virtual environment: Type the following command and press Enter:
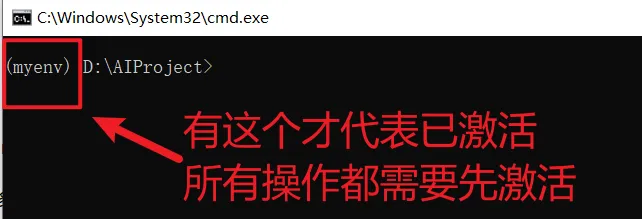
myenv\Scripts\activate
If successful, you'll see (myenv)
appear at the beginning of the command line, indicating you're inside the virtual environment.
Step 5: Install Dependencies in the Virtual Environment
Suppose you have an AI model project with a requirements.txt
file (usually provided by the software author listing dependencies). Let's install them.
- Ensure the file is in the correct location: Copy
requirements.txt
into your "AIProject" folder. - Install dependencies: With the virtual environment activated (indicated by
(myenv)
in the command line), type:shThis will automatically download and install all packages listed in the file.pip install -r requirements.txt
- Troubleshoot common issues: • Network errors: If you see "connection timeout" or "download failed," it might be a network issue. Try switching networks or retrying. You can also use a domestic mirror to speed up downloads by typing:sh• Dependency conflicts: If a package version is incompatible, try updating pip:
pip install -r requirements.txt -i https://pypi.tuna.tsinghua.edu.cn/simple
shThen rerun the installation command. If it still doesn't work, contact the software author for compatible versions.pip install --upgrade pip
Step 6: Install PyTorch (Supports CUDA 12.4)
If you have an NVIDIA GPU and have installed CUDA 12.4 or a higher version (skip this part if not; refer to other tutorials for CUDA installation), follow these steps to install GPU-supported PyTorch.
- Check virtual environment activation: Ensure
(myenv)
is visible in the command line. - Install PyTorch: Type the following command and press Enter:shIf your CUDA version is higher than 12.4, change
pip install torch torchvision torchaudio --index-url https://download.pytorch.org/whl/cu124
cu124
tocu126
in the command; if lower than 12.1, usecu118
.torch
is the main PyTorch library,torchvision
handles images, andtorchaudio
handles audio.--index-url
specifies the download URL for CUDA 12.4. - Verify installation: Type the following command:sh
python -c "import torch;print(torch.__version__);print(torch.cuda.is_available())"
If the output shows something like 2.6.0
(version number) and True
, the installation was successful and GPU is available. If it shows False
, check if CUDA is installed correctly. If you see No module named 'torch'
, the PyTorch installation failed.
Note: Requires an NVIDIA GPU and CUDA 12.4 environment. If not available, use the CPU version with this command:
pip install torch torchvision torchaudio
Final Step: Run Your AI Software
Your environment is now set up! If your AI software has specific running instructions (e.g., python run.py
), enter the corresponding command in the virtual environment.