You Might Not Know Yet, Gemini 2.5 Adds Multi-Speaker Text-to-Speech (TTS), Available for Free
You might not know yet, Google's Gemini 2.5 has introduced a very practical feature—multi-speaker text-to-speech! It's available for free on Google AI Studio. This feature is powered by the gemini-2.5-flash-preview-tts and gemini-2.5-pro-preview-tts models.
Important Notes:
- Internet Access Capability: To access Google AI services, you need to be able to connect to the international internet (please resolve network issues on your own). This is the foundation for using foreign AI tools; otherwise, the following steps cannot proceed.
- Google Account: You need a free Google account. If you don't have one yet, you can register on the Google website; typically, a domestic phone number is sufficient for registration.
1. Open the Gemini Text-to-Speech Page
You can access Gemini's text-to-speech feature page in any of the following ways:
- Direct Access: Open the link https://aistudio.google.com/generate-speech in your browser.
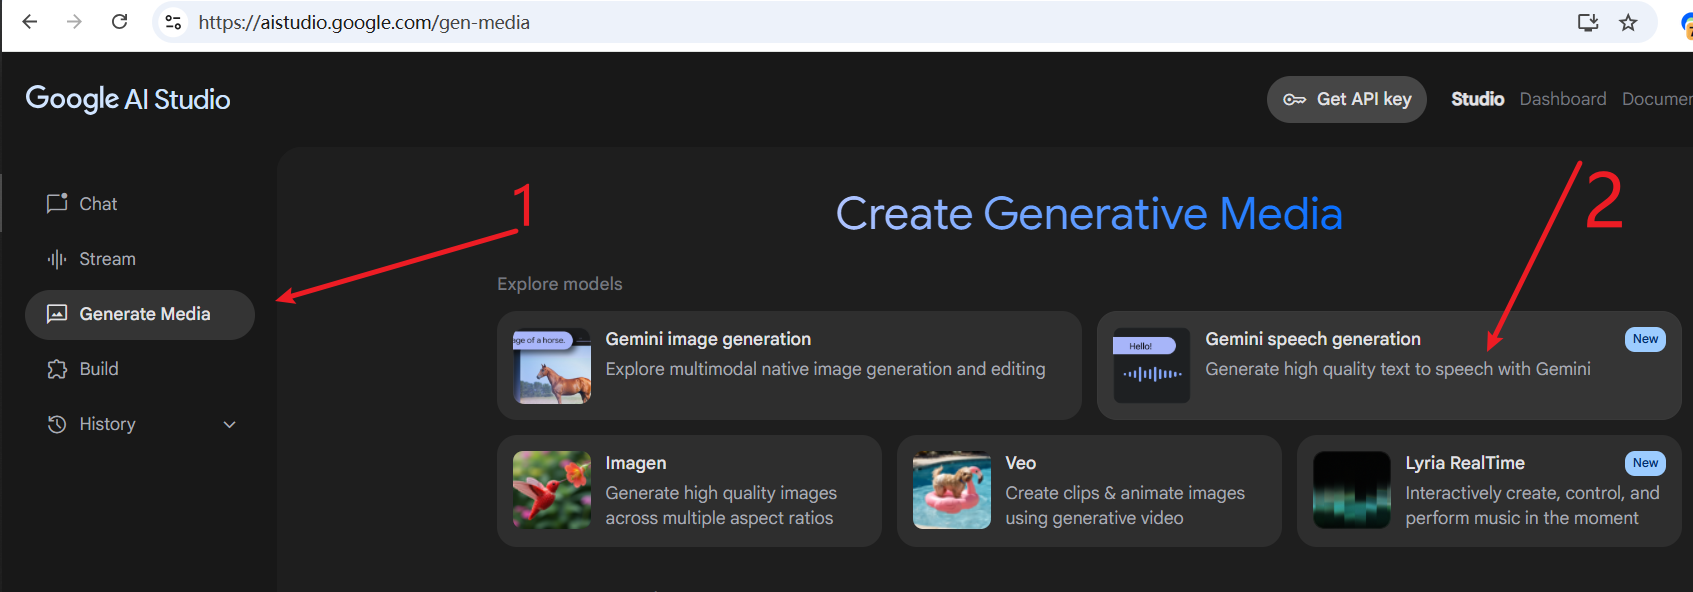
- Via the AI Studio Homepage: If you are already logged into Google AI Studio, you can also follow the guidance in the image below to find the speech generation entry.
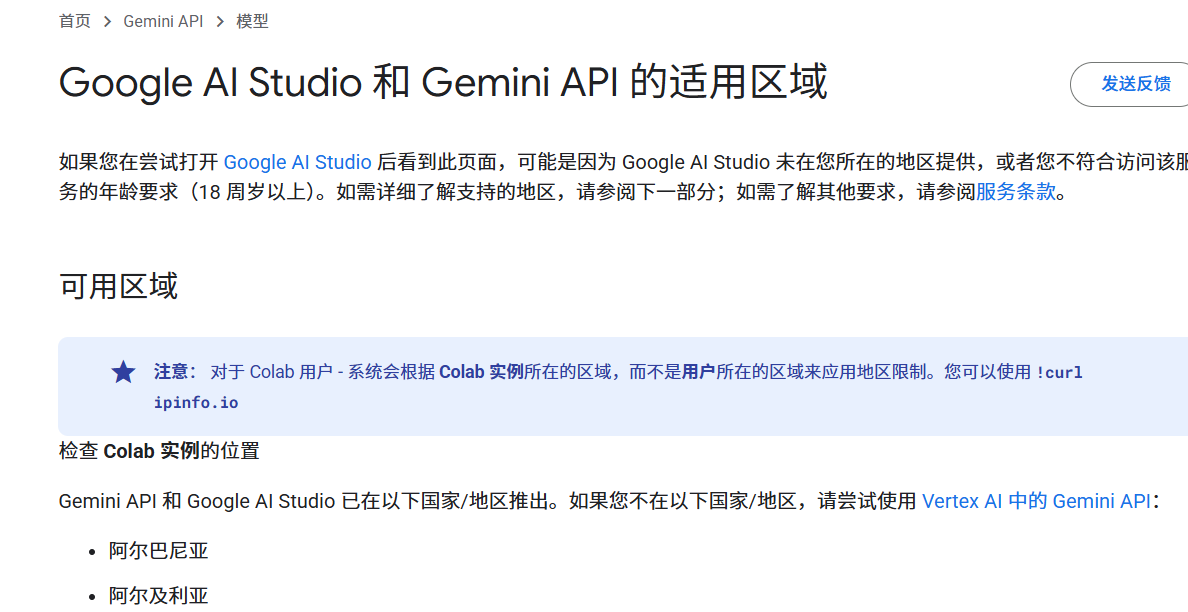
If the page fails to load, or if you see a prompt like "This region is not supported" (for example, this often occurs when using network nodes in Hong Kong), please try switching your network proxy node to another country or region (such as the United States, Singapore, etc.).
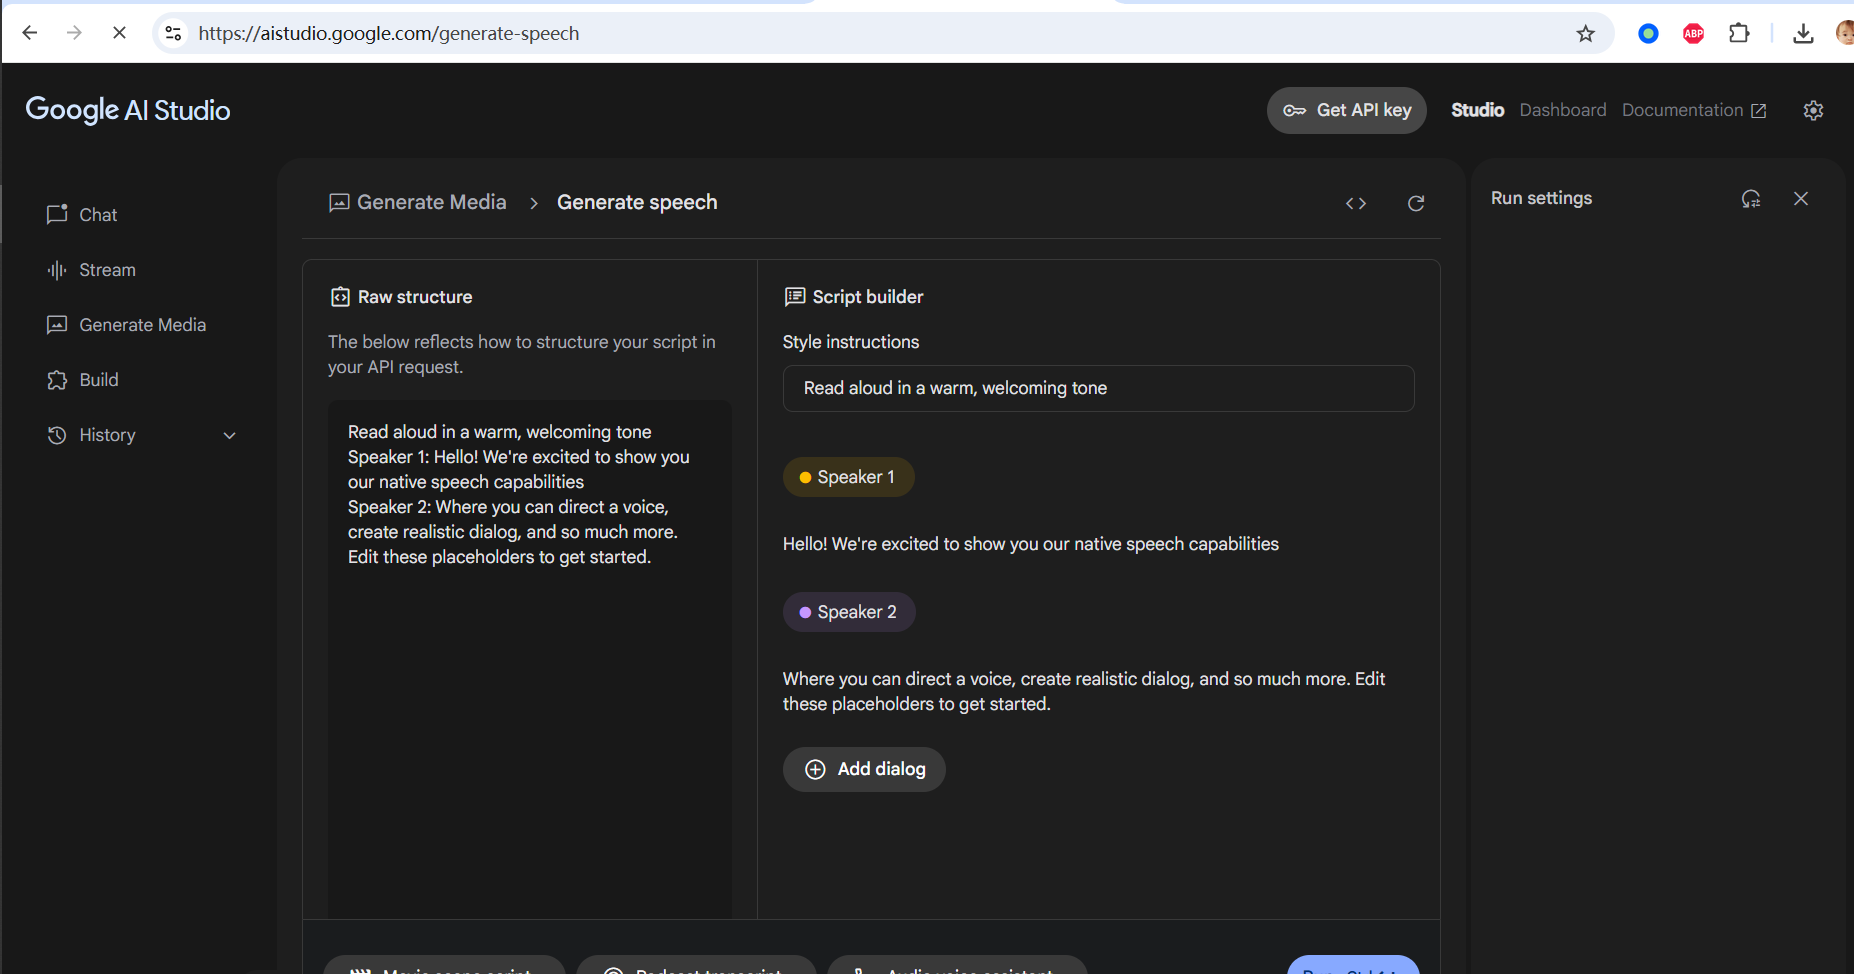
Once successfully opened, you will see the speech generation interface as shown below:
2. Interface Overview and Mode Switching
Don't worry, although the interface is in English, it's very simple to operate. We'll explain step by step below.
Gemini's speech generation tool automatically detects the language of your input text and currently supports up to 24 languages (although Chinese is not listed in the documentation, it is actually supported).
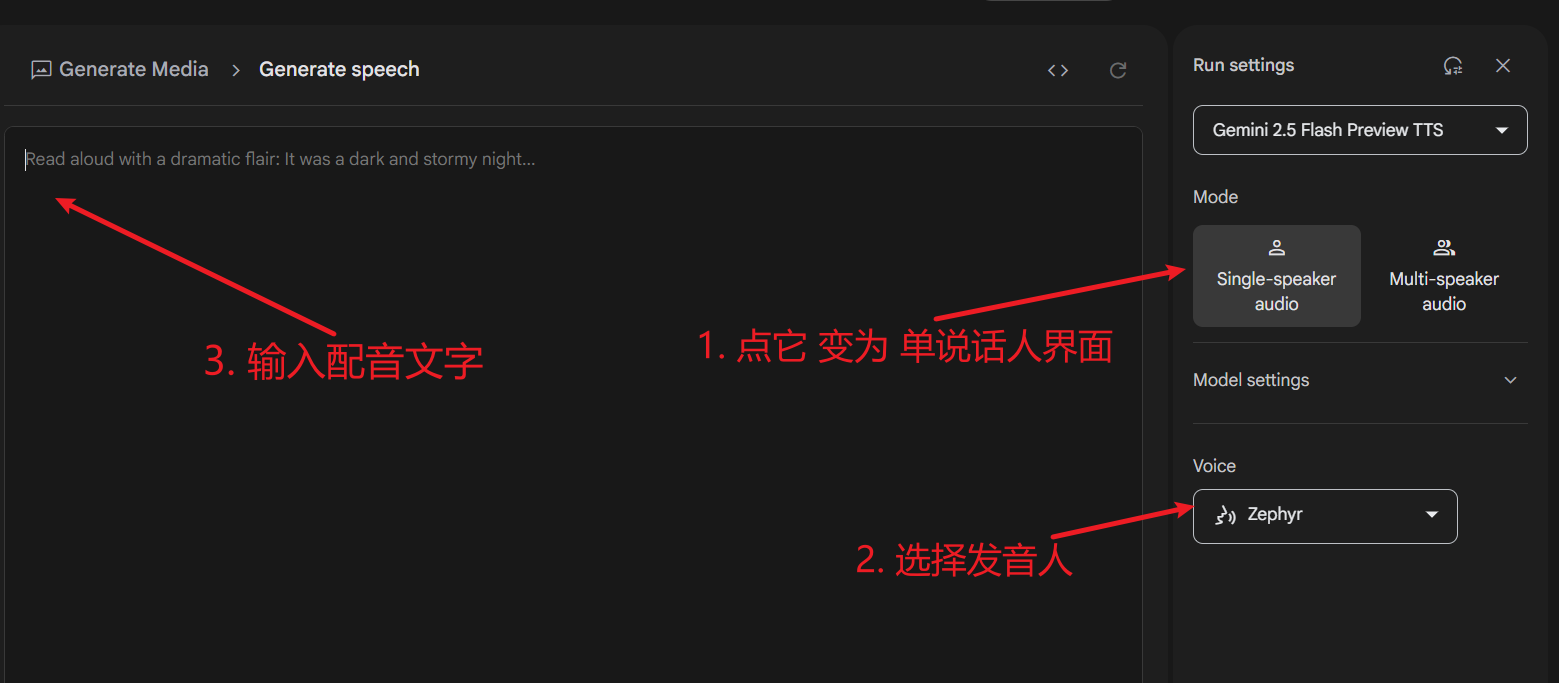
By default, you will enter the Multi-speaker audio dubbing interface:
If you only need a single voice for dubbing, you can click Single-speaker audio on the right side of the interface to switch to Single-speaker audio mode. The single-speaker mode interface is more concise:
3. Practical Steps for Multi-Speaker Dubbing
We'll focus on the more feature-rich multi-speaker dubbing, which currently supports only 2 speakers.
1. Prepare and Paste the Dubbing Text
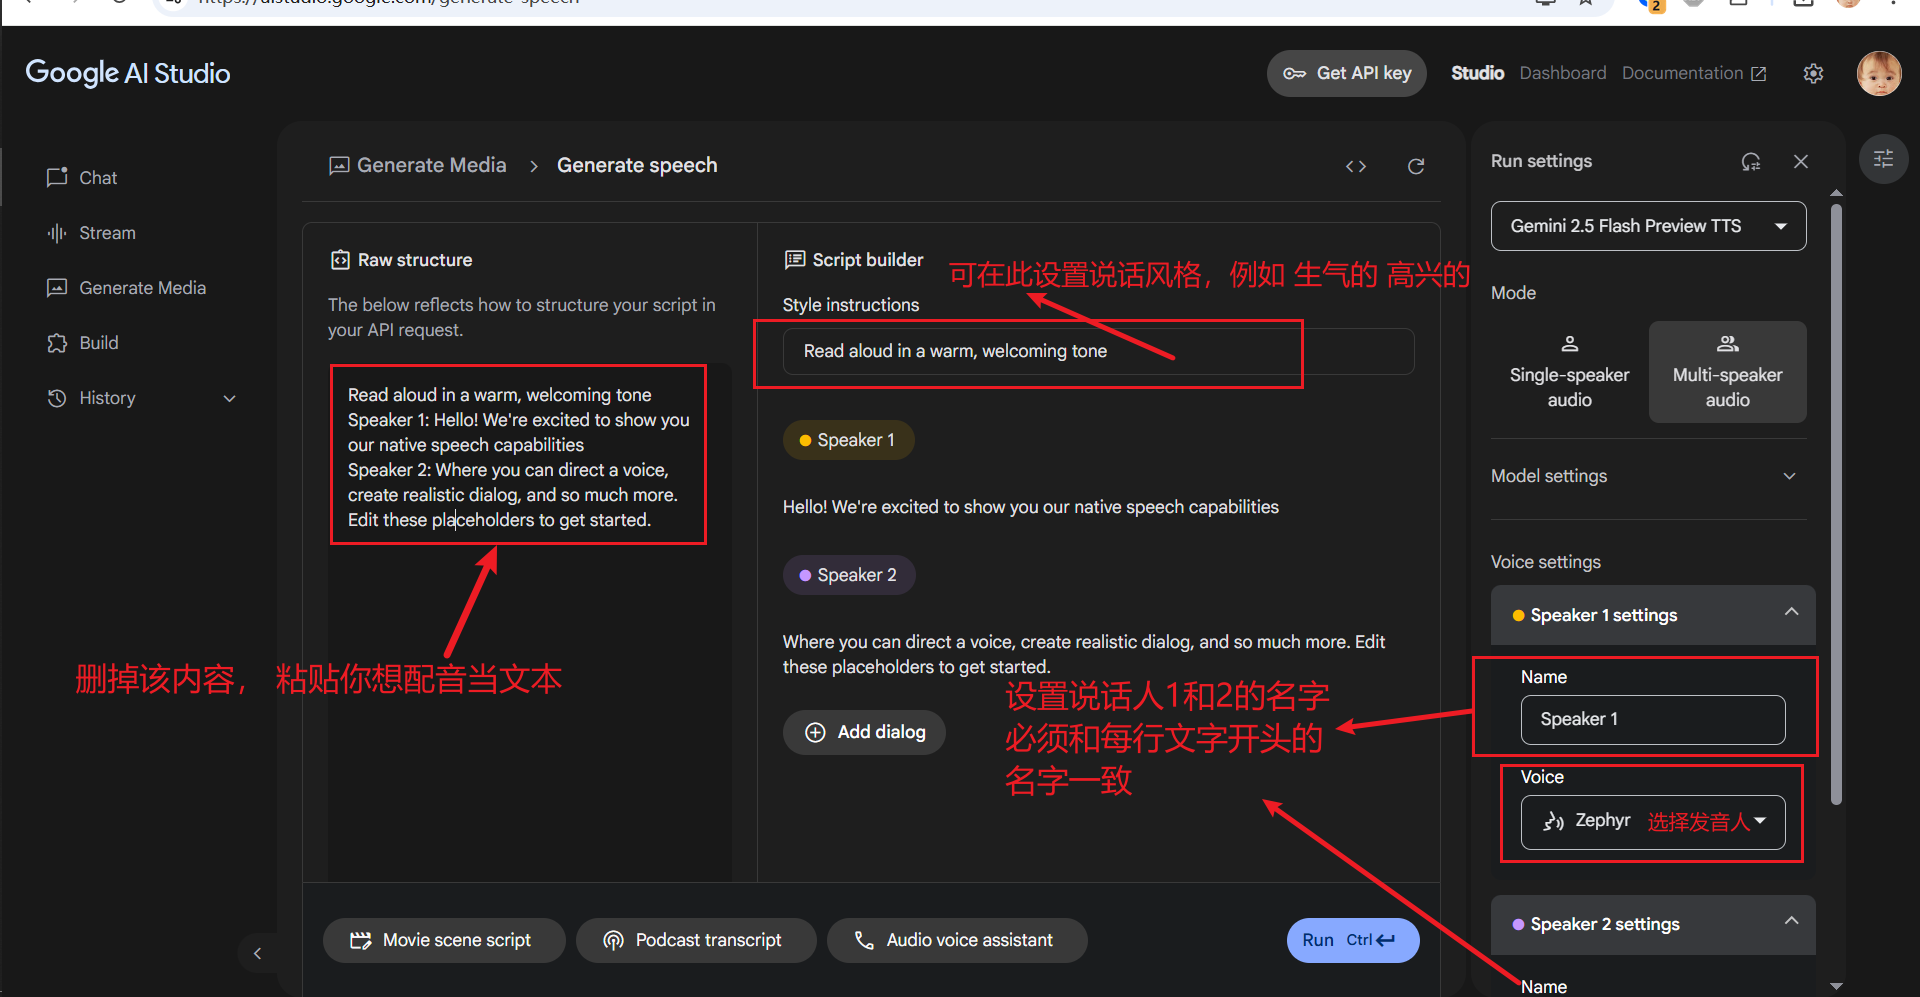
In the Raw structure text box on the left side of the interface, enter or paste the text content you want to dub. Key Points:
- Line Breaks: It's recommended to keep each line of content not too long, ideally with natural sentence pauses.
- Specify the Speaker: At the beginning of each line, use the format
SpeakerX:(English colon) to specify which character reads that line. For example:Speaker1: Today is a beautiful day, sunny and clear.Speaker2: Yes, how about we go for a walk in the park? - Gemini will assign different voices to lines marked with different speakers. Currently, it supports up to two speakers (for example, you can define "Speaker1" and "Speaker2").
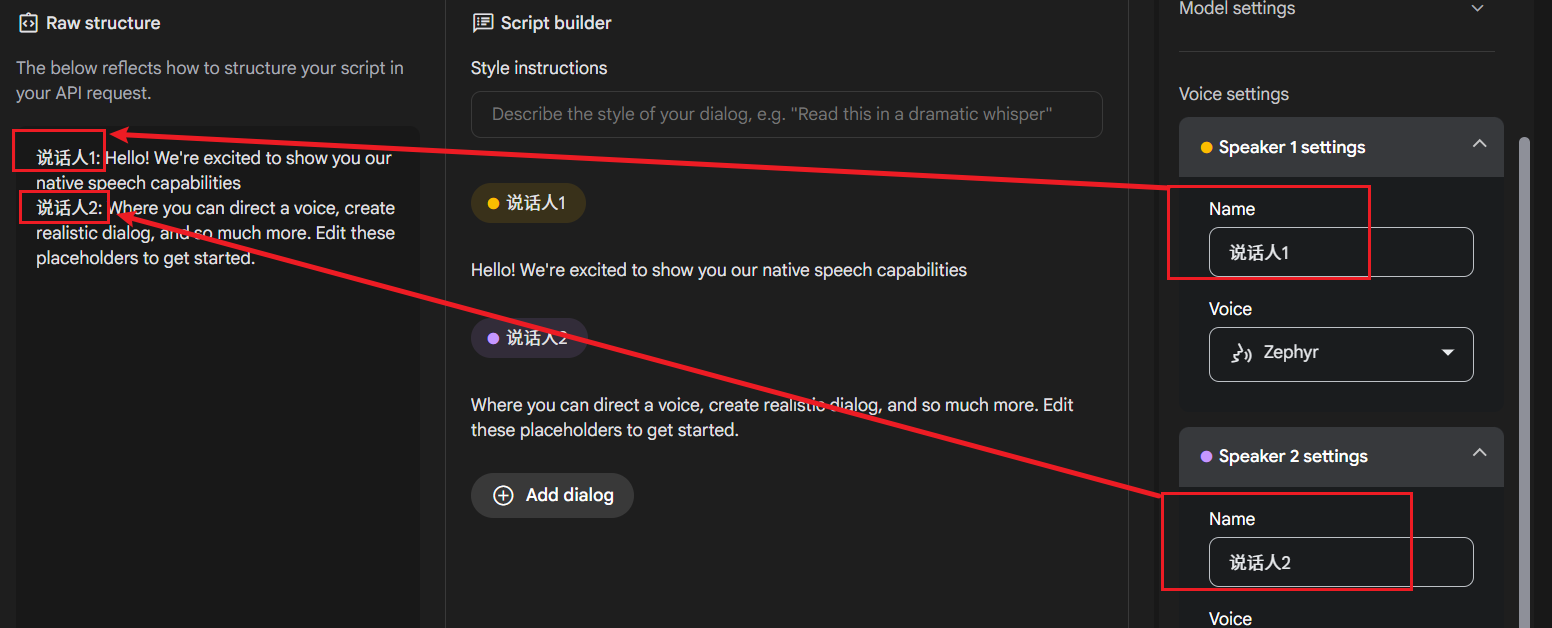
2. Configure Speaker Roles (Voice Settings)
In the Voice settings area on the right side of the interface, you need to configure each speaker:
Set the Speaker Name (Name): As shown in the image below, the name entered in the Name input box must exactly match the speaker identifier you used at the beginning of each line in the left text (e.g., "Speaker1", "Speaker2"). Case, numbers, and even spaces must match.
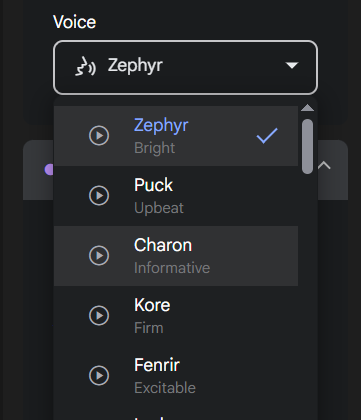
Select the Voice (Voice): In the Voice dropdown menu below Name, you can select a specific voice role for the currently selected speaker. Click the play button next to each role to preview its tone and choose your favorite voice.
3. (Optional) Set Speech Style (Style Instructions)
If you want the dubbing to have a specific emotion or tone (e.g., happy, angry, sad, etc.), you can enter style prompts in the Style instructions text box. After filling them in, these prompts will automatically apply to the entire dubbing project, affecting the overall style of all speakers.
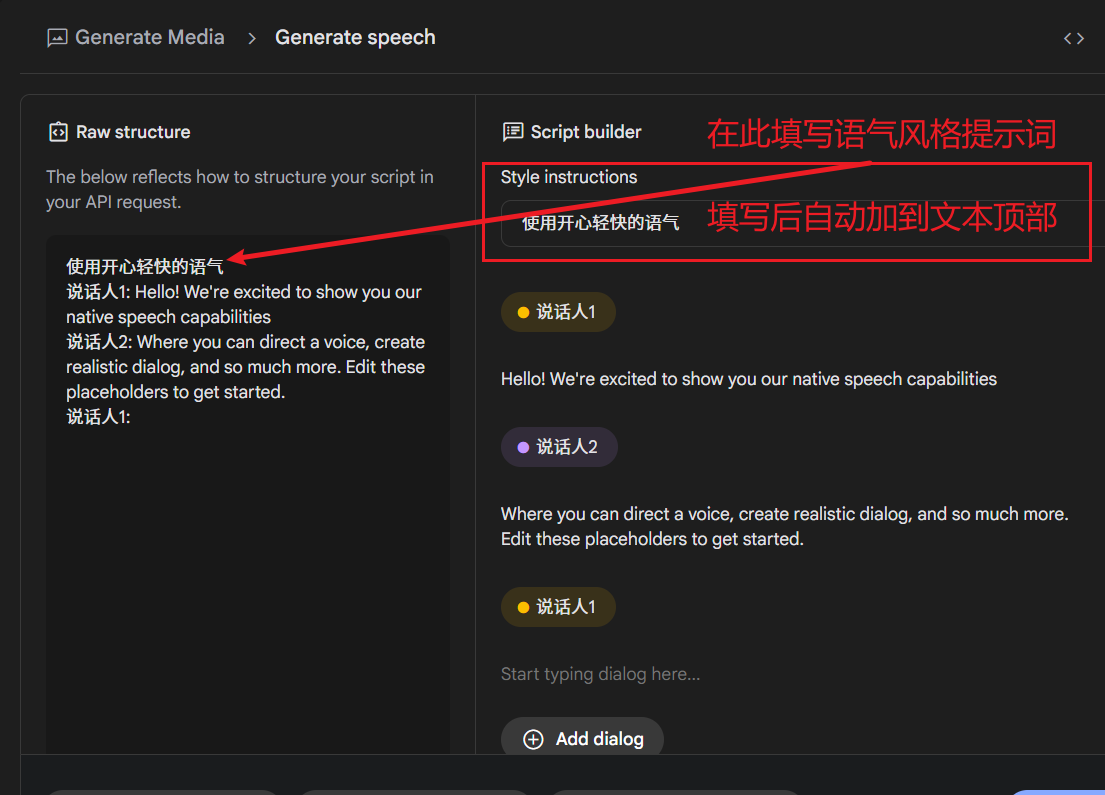
Tip: The text preview area on the right also displays the content from your left editing area in real-time, and you can directly modify, delete, or add lines in this area, which is very convenient.
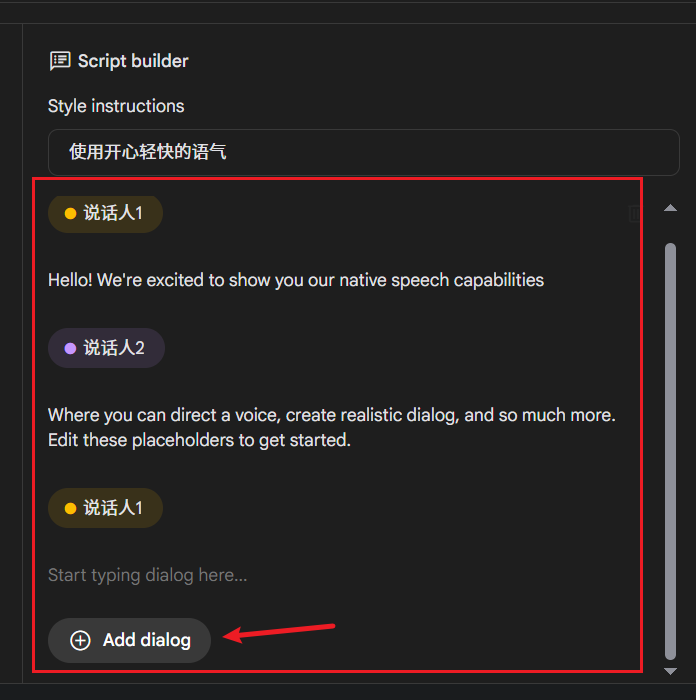
4. Generate and Download the Dubbing
After completing all the above settings, click the blue Run button in the lower right corner of the interface. Gemini will then start processing your text and generate the speech. If everything goes smoothly, after a short wait, the generated audio player will appear below. You can play it online to preview, and if satisfied with the result, click the download button to save it to your computer.

4. Possible Issues and Solutions
Currently, Gemini has strict rate limits on API calls. When processing a large number of text lines, especially in dual-speaker mode, you might encounter generation failures (particularly when the text is in Chinese) and see error prompts similar to the image below:
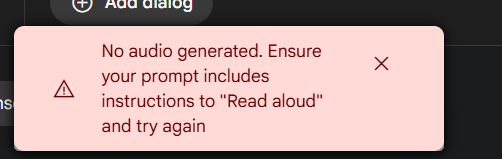
If you encounter this issue, you can try the following methods:
- Switch to Single-Speaker Mode: If multi-speaker is not necessary, switching to
Single-speaker audiomode usually improves the success rate. - Try Again Later: The simplest method is to wait a few minutes or longer and then try again.