If you're not very familiar with computer technology but need to use AI-related software (such as video translation, voice cloning, text-to-image generation, etc.), you may need to install Python on your computer. Python is a programming language that many AI applications rely on to run. This guide will walk you through installing Python 3.10.4 on Windows 10 and setting up a simple environment to run these programs.
Why Choose Python 3.10.4?
Because it's a relatively stable version:
• Versions below 3.10 may no longer be supported by some software. • Newer versions (like 3.11 or 3.13) might be too recent and have compatibility issues with model modules.
Step 1: Download Python 3.10.4
- Open your browser, enter the following URL in the address bar, and press Enter to open the download page:
https://www.python.org/downloads/release/python-3104/
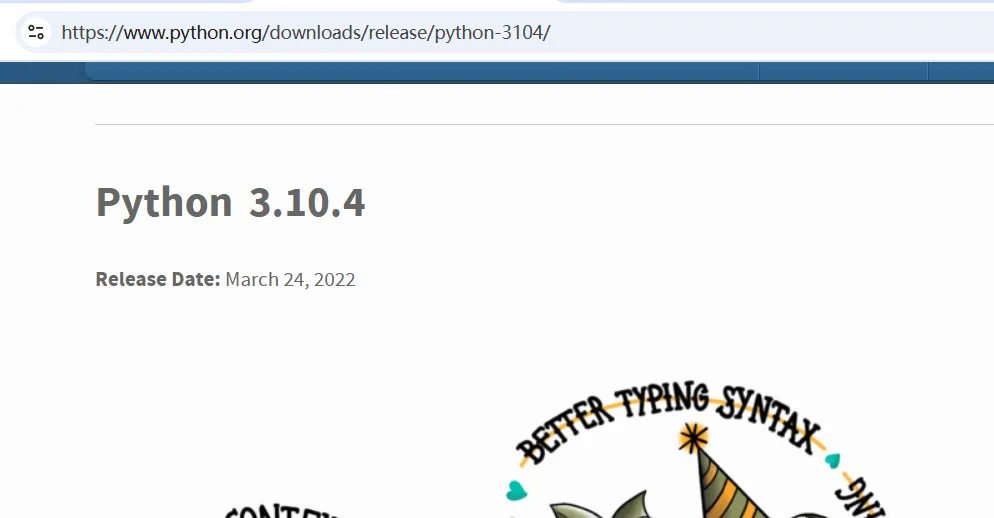
Scroll down the page until you see the "Files" section. Find the line for "Windows installer (64-bit)" and click to download (the downloaded file will be named
python-3.10.4-amd64.exe).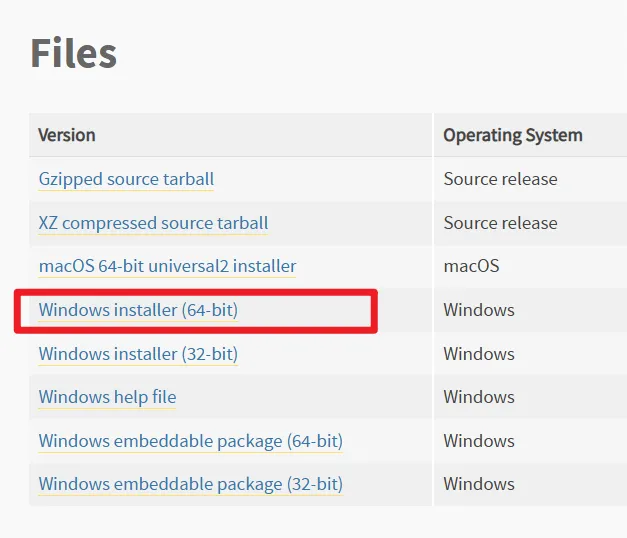
Save the file: The download will start automatically, and the file will be saved to your "Downloads" folder (usually located at
C:\Users\YourUsername\Downloads).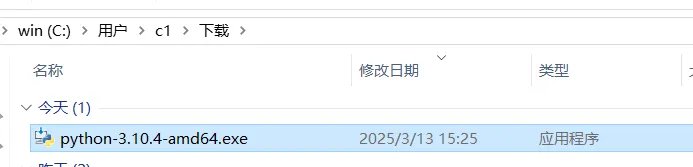
Step 2: Install Python 3.10.4
Start the installation: Locate the downloaded
python-3.10.4-amd64.exefile and double-click it. The installation window will appear. • Important: At the bottom of the window, check the box for "Add Python 3.10 to PATH," then click "Install Now."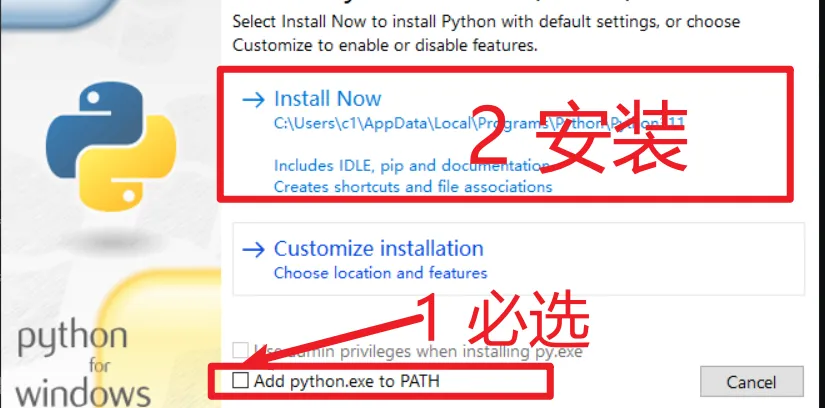
Wait for installation to complete: The process may take a few minutes. Once done, you'll see a "Setup was successful" message. Click "Close" to exit the installer.
Step 3: Verify Python Installation
- Open Command Prompt (CMD): Press the Windows key + R on your keyboard to open the "Run" dialog. Type
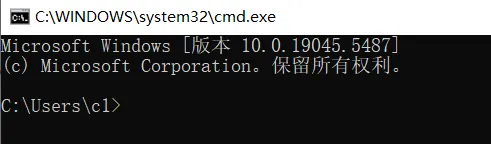
cmdin the input box and press Enter. A black command-line window will appear.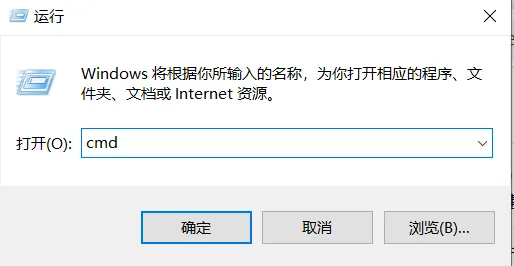
- Check Python with a command: In the command-line window, type the following and press Enter:sh
python --version
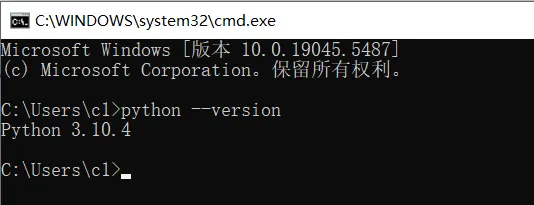
If you see output like Python 3.10.4, congratulations, the installation was successful! If there's no response or an error occurs, you may have forgotten to check "Add Python 3.10 to PATH" and should reinstall.
Step 4: Create a Virtual Environment
A virtual environment acts like an isolated "room" where different AI projects can use different software versions without conflicts. We'll use Python's built-in venv module to create one.
- Choose a folder: For example, create a folder on your D drive to store your projects. It's recommended to use folder names with English letters or numbers only—avoid Chinese characters, spaces, or special symbols, e.g.,
D:/AIProject. - Navigate to the folder and open Command Prompt: Go to
D:/AIProject, typecmdin the folder address bar, and press Enter to open the terminal.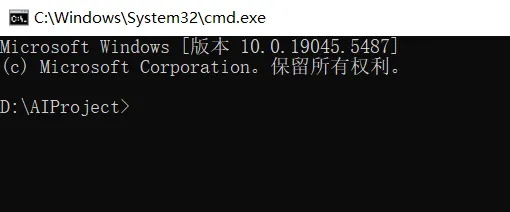

- Create the virtual environment: In the command line opened in the previous step, type:sh
python -m venv myenv
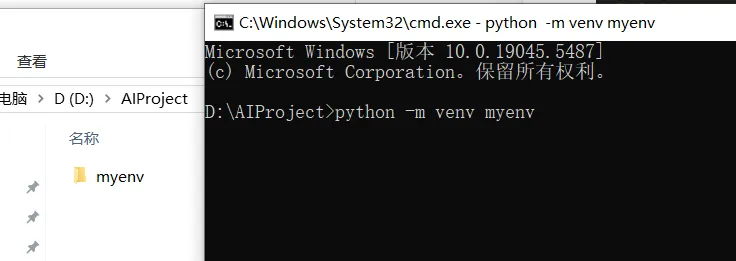
After pressing Enter, a subfolder named myenv will appear in your directory—this is your virtual environment. 4. Activate the virtual environment: Type the following command and press Enter:
myenv\Scripts\activate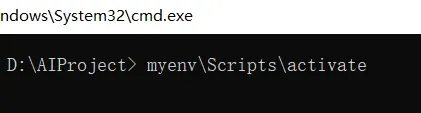
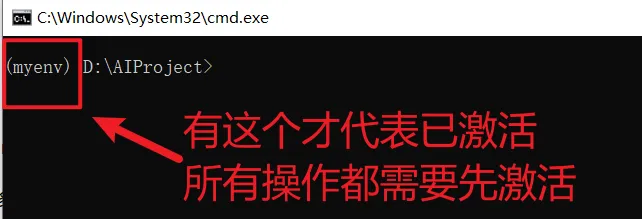
If successful, you'll see (myenv) appear at the beginning of the command line, indicating you're inside the virtual environment.
Step 5: Install Dependencies in the Virtual Environment
Suppose you have an AI model project with a requirements.txt file (usually provided by the software author listing dependencies). Let's install them.
- Ensure the file is in the correct location: Copy
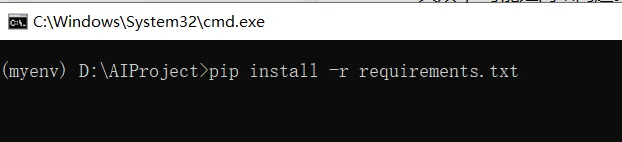
requirements.txtinto your "AIProject" folder. - Install dependencies: With the virtual environment activated (indicated by
(myenv)in the command line), type:shThis will automatically download and install all packages listed in the file.pip install -r requirements.txt
- Troubleshoot common issues: • Network errors: If you see "connection timeout" or "download failed," it might be a network issue. Try switching networks or retrying. You can also use a domestic mirror to speed up downloads by typing:sh• Dependency conflicts: If a package version is incompatible, try updating pip:
pip install -r requirements.txt -i https://pypi.tuna.tsinghua.edu.cn/simpleshThen rerun the installation command. If it still doesn't work, contact the software author for compatible versions.pip install --upgrade pip
Step 6: Install PyTorch (Supports CUDA 12.4)
If you have an NVIDIA GPU and have installed CUDA 12.4 or a higher version (skip this part if not; refer to other tutorials for CUDA installation), follow these steps to install GPU-supported PyTorch.
- Check virtual environment activation: Ensure
(myenv)is visible in the command line. - Install PyTorch: Type the following command and press Enter:shIf your CUDA version is higher than 12.4, change
pip install torch torchvision torchaudio --index-url https://download.pytorch.org/whl/cu124cu124tocu126in the command; if lower than 12.1, usecu118.torchis the main PyTorch library,torchvisionhandles images, andtorchaudiohandles audio.--index-urlspecifies the download URL for CUDA 12.4. - Verify installation: Type the following command:sh
python -c "import torch;print(torch.__version__);print(torch.cuda.is_available())"

If the output shows something like 2.6.0 (version number) and True, the installation was successful and GPU is available. If it shows False, check if CUDA is installed correctly. If you see No module named 'torch', the PyTorch installation failed.
Note: Requires an NVIDIA GPU and CUDA 12.4 environment. If not available, use the CPU version with this command:
pip install torch torchvision torchaudioFinal Step: Run Your AI Software
Your environment is now set up! If your AI software has specific running instructions (e.g., python run.py), enter the corresponding command in the virtual environment.