Why Noise Reduction?
In many speech-related applications, the presence of noise severely impacts performance and user experience. For example:
- Speech Recognition: Noise reduces the accuracy of speech recognition, especially in low signal-to-noise ratio environments.
- Voice Cloning: Noise decreases the naturalness and clarity of synthesized speech based on reference audio.
Speech noise reduction can help address these issues to some extent.
Common Noise Reduction Methods
Currently, speech noise reduction technologies mainly include the following methods:
- Spectral Subtraction: A classic noise reduction method with a simple principle.
- Wiener Filtering: This method works well for stable noise but has limited effectiveness against varying noise.
- Deep Learning: The most advanced noise reduction method today. It uses powerful deep learning models, such as Recurrent Neural Networks (RNN), Convolutional Neural Networks (CNN), and Generative Adversarial Networks (GAN), to learn the complex relationships between noise and speech, achieving more precise and natural noise reduction.
ZipEnhancer Model: Deep Learning Noise Reduction
This tool is based on the open-source ZipEnhancer model from Tongyi Lab and provides a simple and user-friendly interface and API, allowing everyone to easily experience the power of deep learning noise reduction.
The project is open source on GitHub
The core of the ZipEnhancer model is the Transformer network structure and multi-task learning strategy. It not only removes noise but also enhances speech quality and eliminates echo simultaneously. The working principle is as follows:
- Self-Attention Mechanism: Captures important long-term relationships in speech signals to understand the context of the sound.
- Multi-Head Attention Mechanism: Analyzes speech features from different perspectives for more refined noise suppression and speech enhancement.
How to Use This Tool?
Windows Pre-packaged Version:
- Download and extract the pre-packaged version (https://github.com/jianchang512/remove-noise/releases/download/v0.1/win-remove-noise-0.1.7z).
- Double-click the
runapi.batfile, and the browser will automatically openhttp://127.0.0.1:5080. - Select an audio or video file to start noise reduction.
Source Code Deployment:
- Environment Preparation: Ensure Python 3.10 - 3.12 is installed.
- Install Dependencies: Run
pip install -r requirements.txt --no-deps. - CUDA Acceleration (Optional): If you have an NVIDIA graphics card, install CUDA 12.1 to speed up processing:bash
pip uninstall -y torch torchaudio torchvision pip install torch torchvision torchaudio --index-url https://download.pytorch.org/whl/cu121 - Run the Program: Execute
python api.py.
Linux System:
- Install the
libsndfilelibrary:sudo apt-get update && sudo apt-get install libsndfile1. - Note: Ensure the
datasetslibrary version is 3.0; otherwise, errors may occur. Use the commandpip list | grep datasetsto check the version.
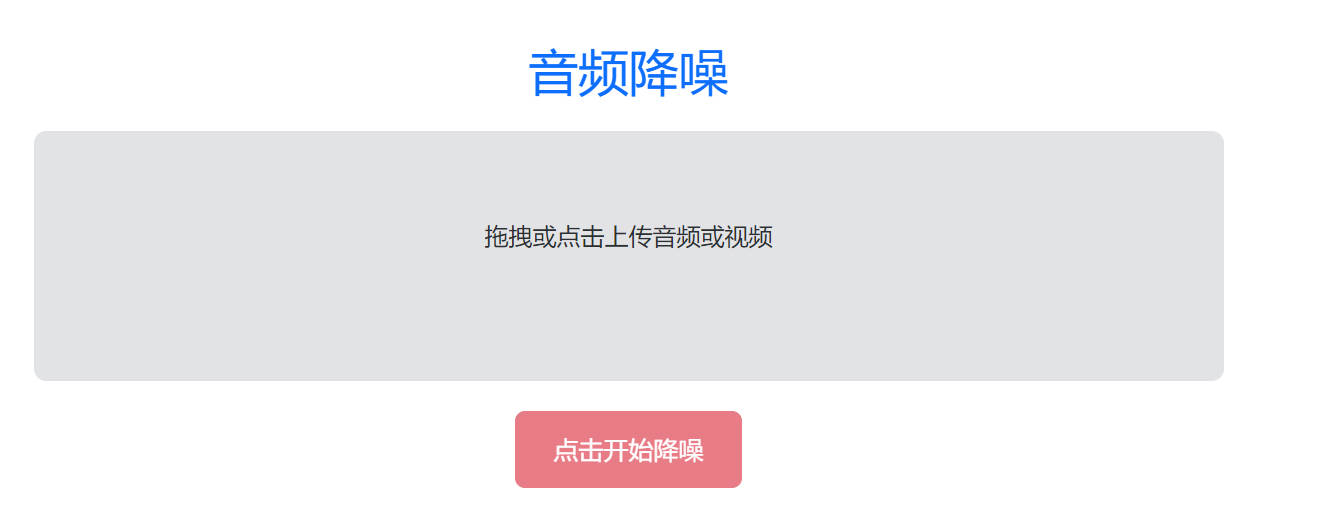
Interface Preview
API Usage
Endpoint: http://127.0.0.1:5080/api
Request Method: POST
Request Parameters:
stream: 0 returns an audio URL, 1 returns audio data.audio: The audio or video file to be processed.
Response (JSON):
- Success (stream=0):
{"code": 0, "data": {"url": "Audio URL"}} - Success (stream=1): WAV audio data.
- Failure:
{"code": -1, "msg": "Error message"}
Example Code (Python): (Optimized from the original)
import requests

url = 'http://127.0.0.1:5080/api'
file_path = './300.wav'

# Get audio URL
try:
  res = requests.post(url, data={"stream": 0}, files={"audio": open(file_path, 'rb')})
  res.raise_for_status()
  print(f"Noise-reduced audio URL: {res.json()['data']['url']}")

except requests.exceptions.RequestException as e:
    print(f"Request failed: {e}")

# Get audio data
try:
    res = requests.post(url, data={"stream": 1}, files={"audio": open(file_path, 'rb')})
    res.raise_for_status()
    with open("ceshi.wav", 'wb') as f:
        f.write(res.content)
    print("Noise-reduced audio saved as ceshi.wav")

except requests.exceptions.RequestException as e:
    print(f"Request failed: {e}")